Al solicitar permisos de acceso y enviar enlaces de recomendación a nuevos clientes, elige un paquete de alojamiento web.
En Hostinger, puedes añadir y gestionar clientes fácilmente en una interfaz amigable de hPanel. Además de agregar nuevos clientes, también puedes preseleccionar paquetes de alojamiento para ellos, haciendo que su proceso de acceso sea más eficiente y ahorre tiempo.
Este proceso tienedos opciones, ambas accesibles desde la secciónde la página principalen hPanel:
Opción 1——Compartir cuenta (Account Sharing)

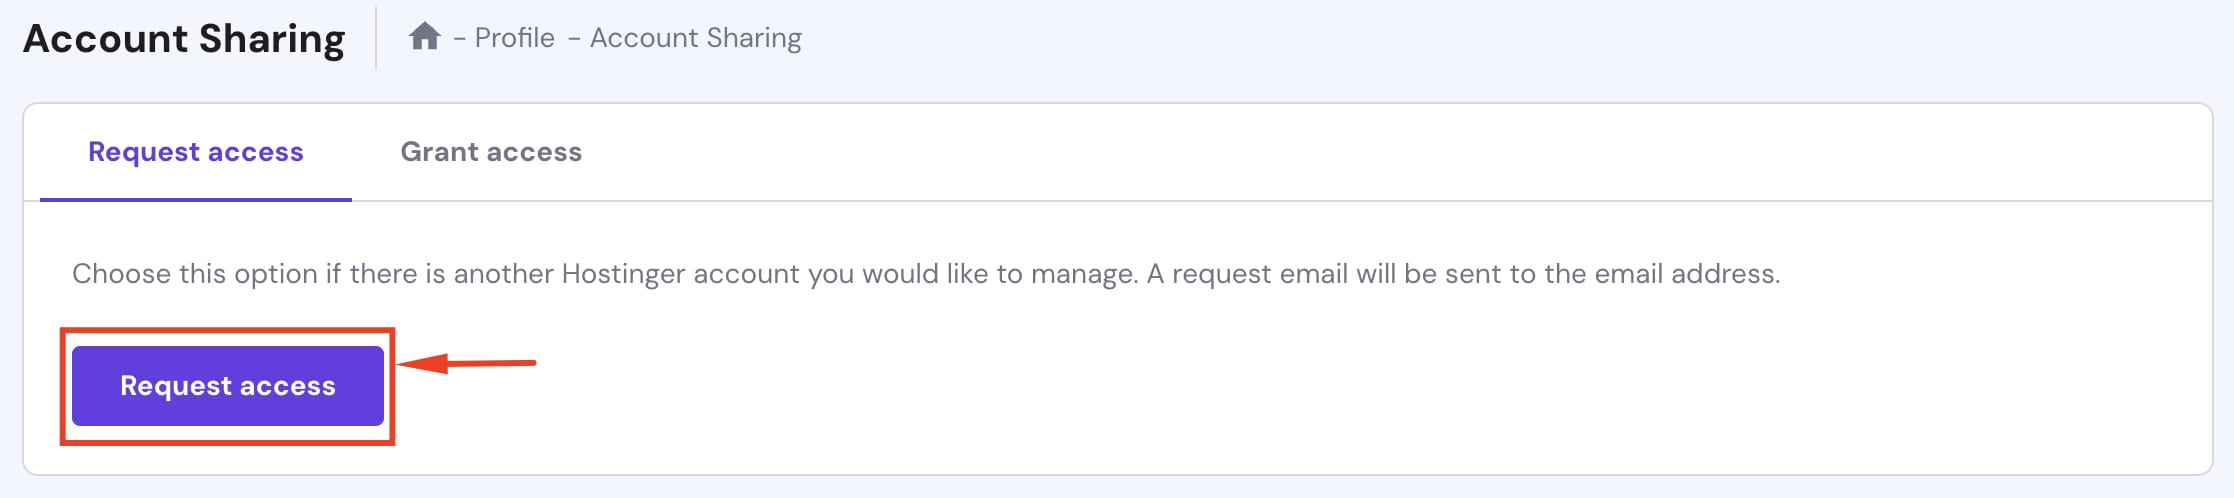
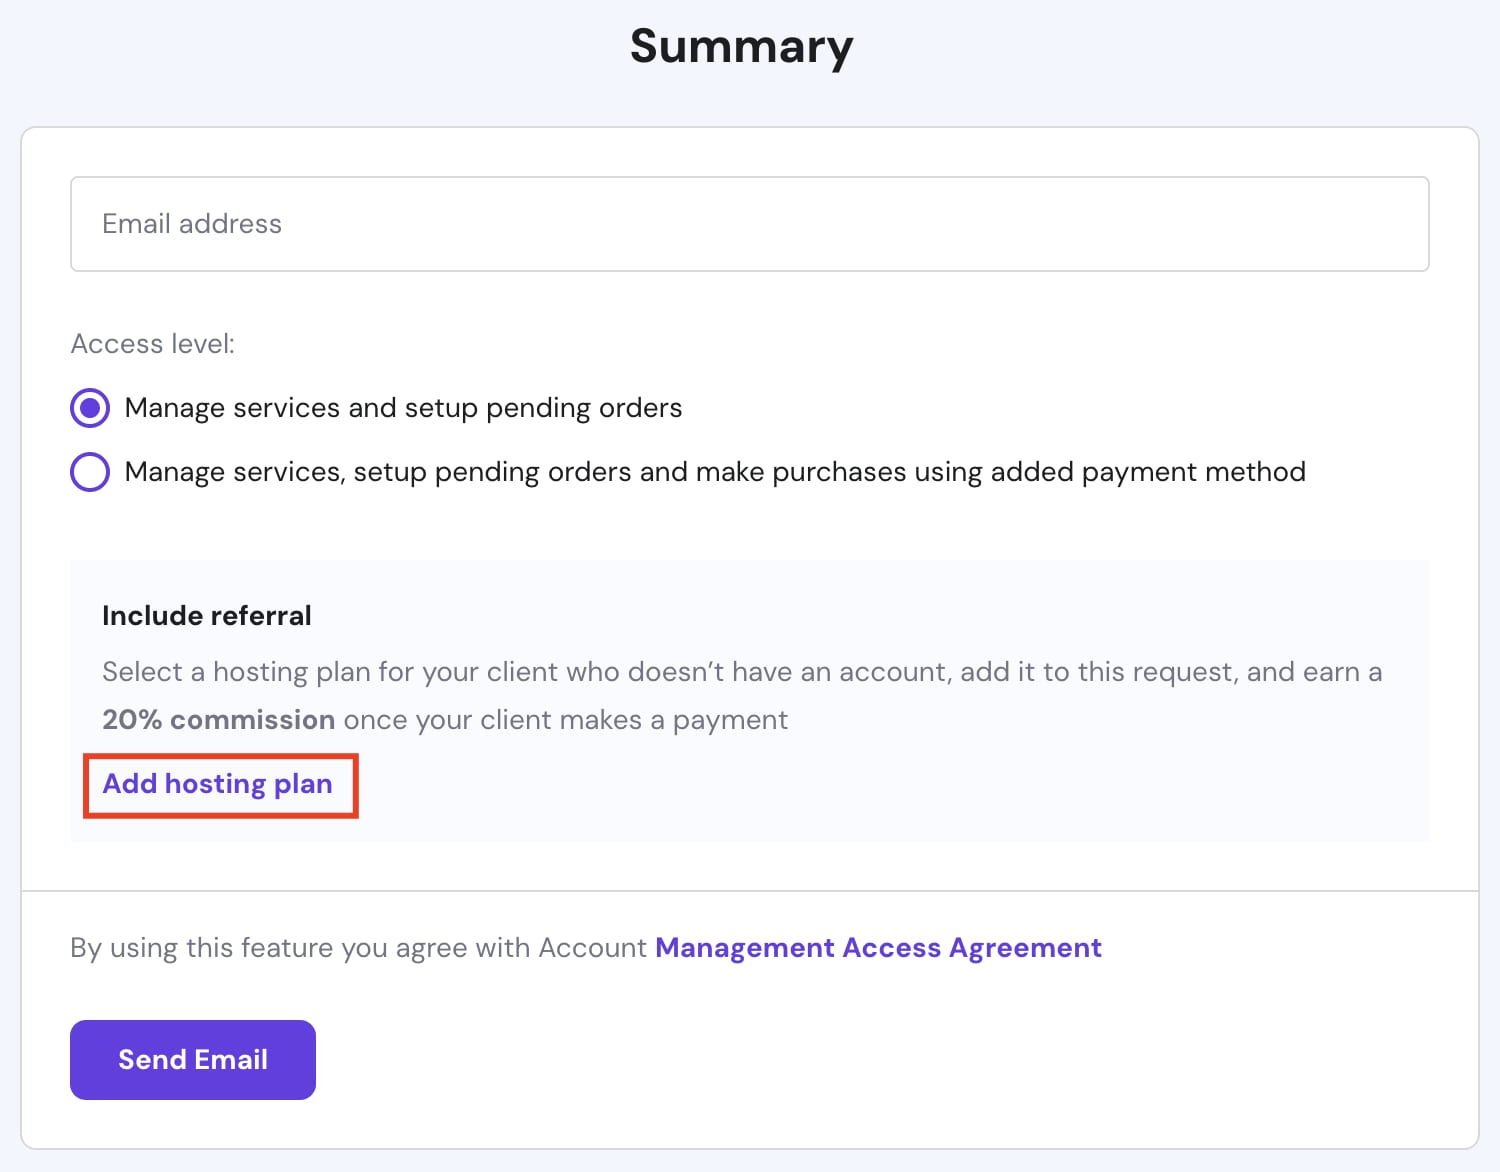
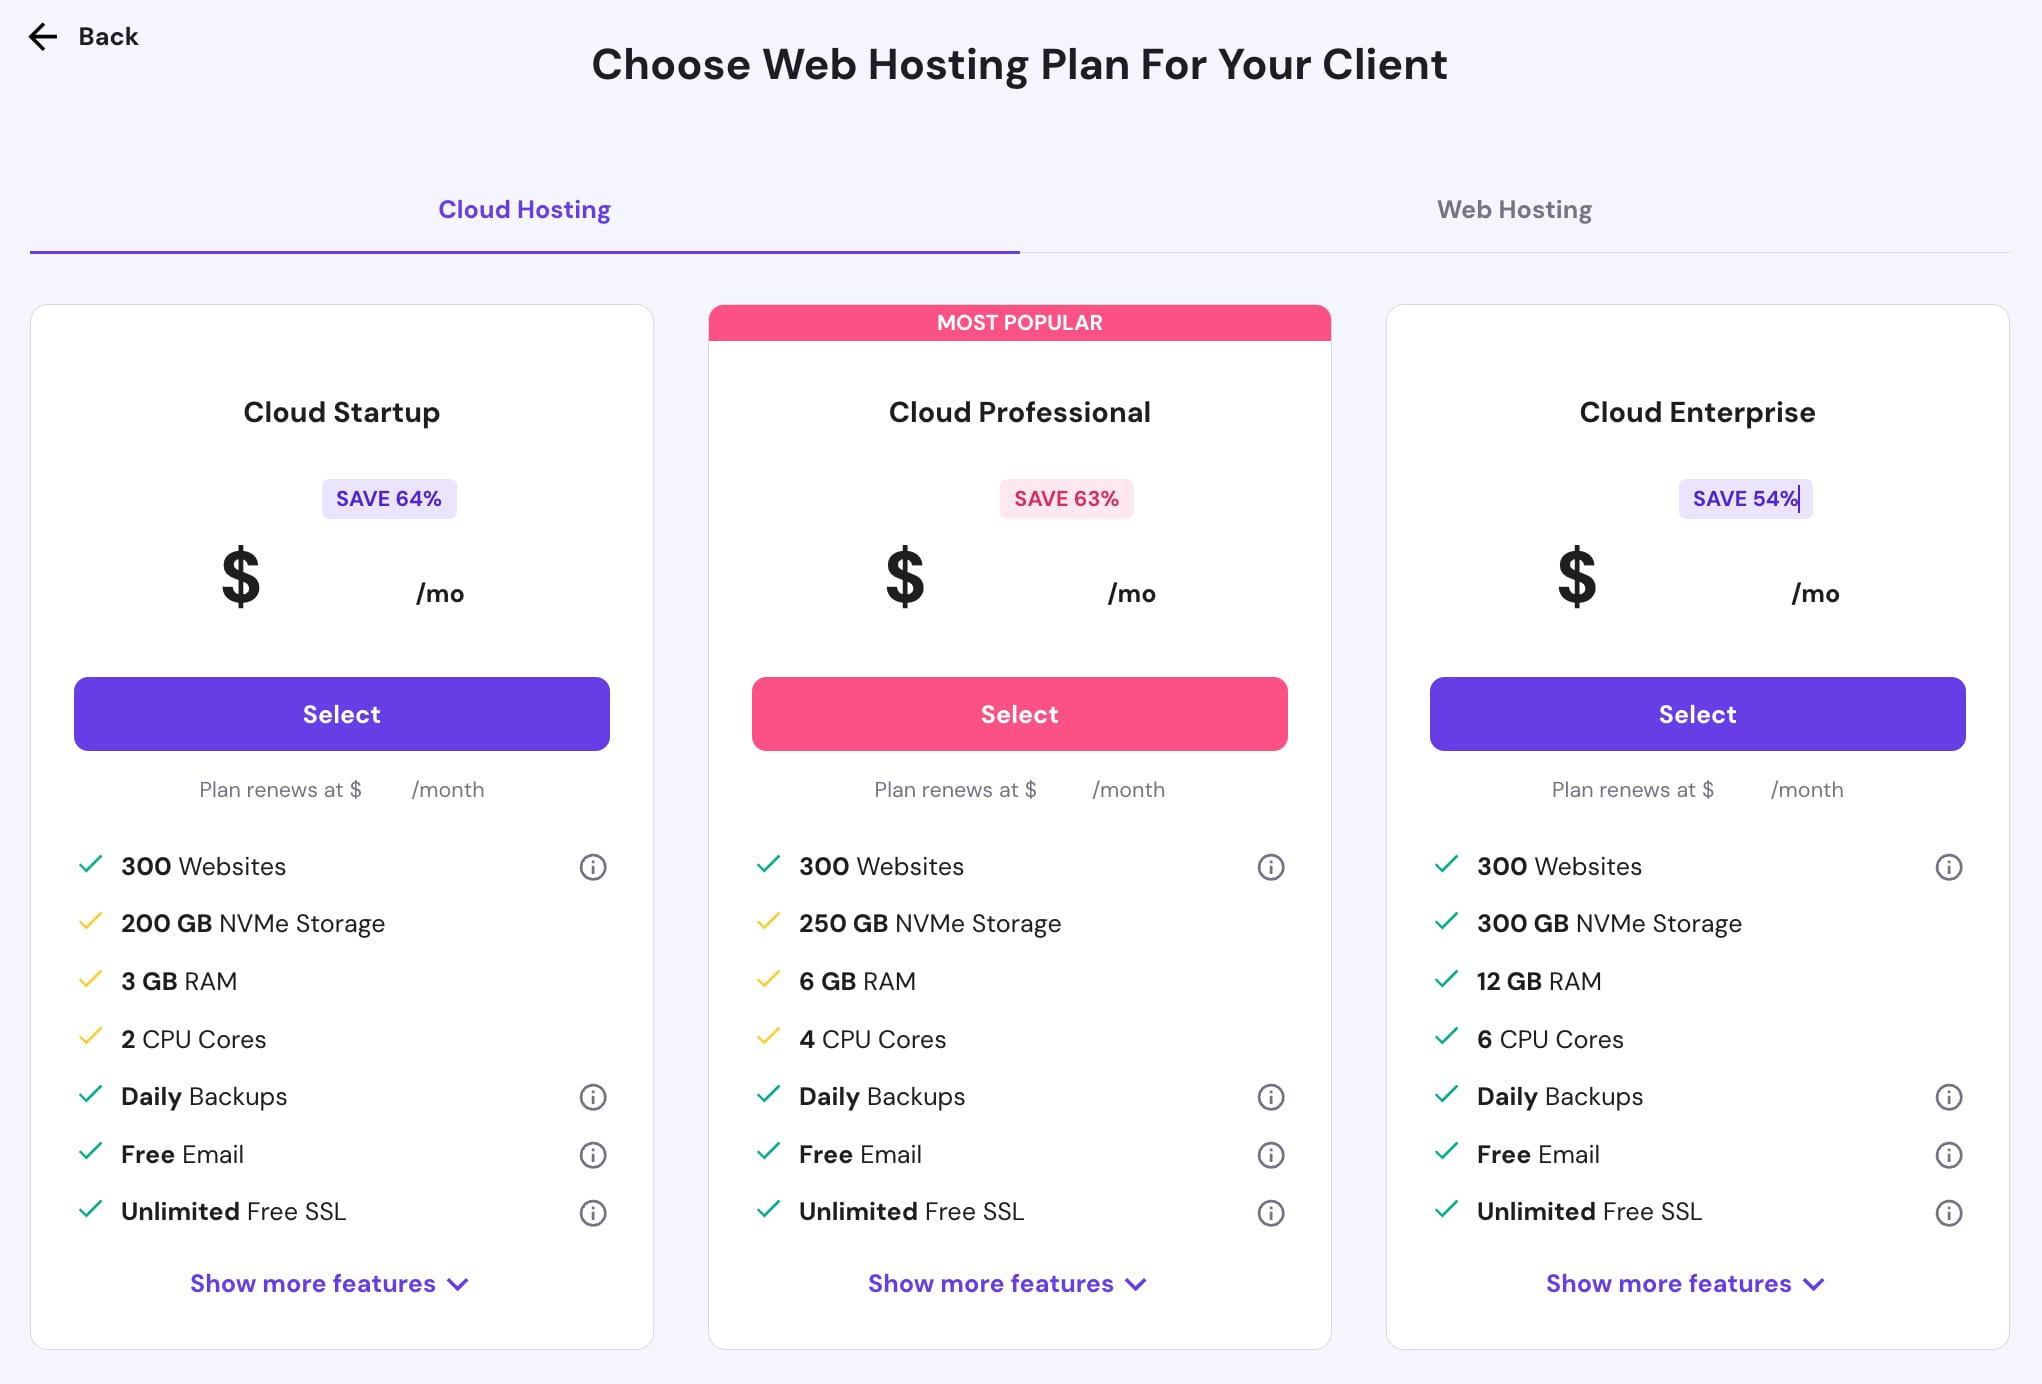
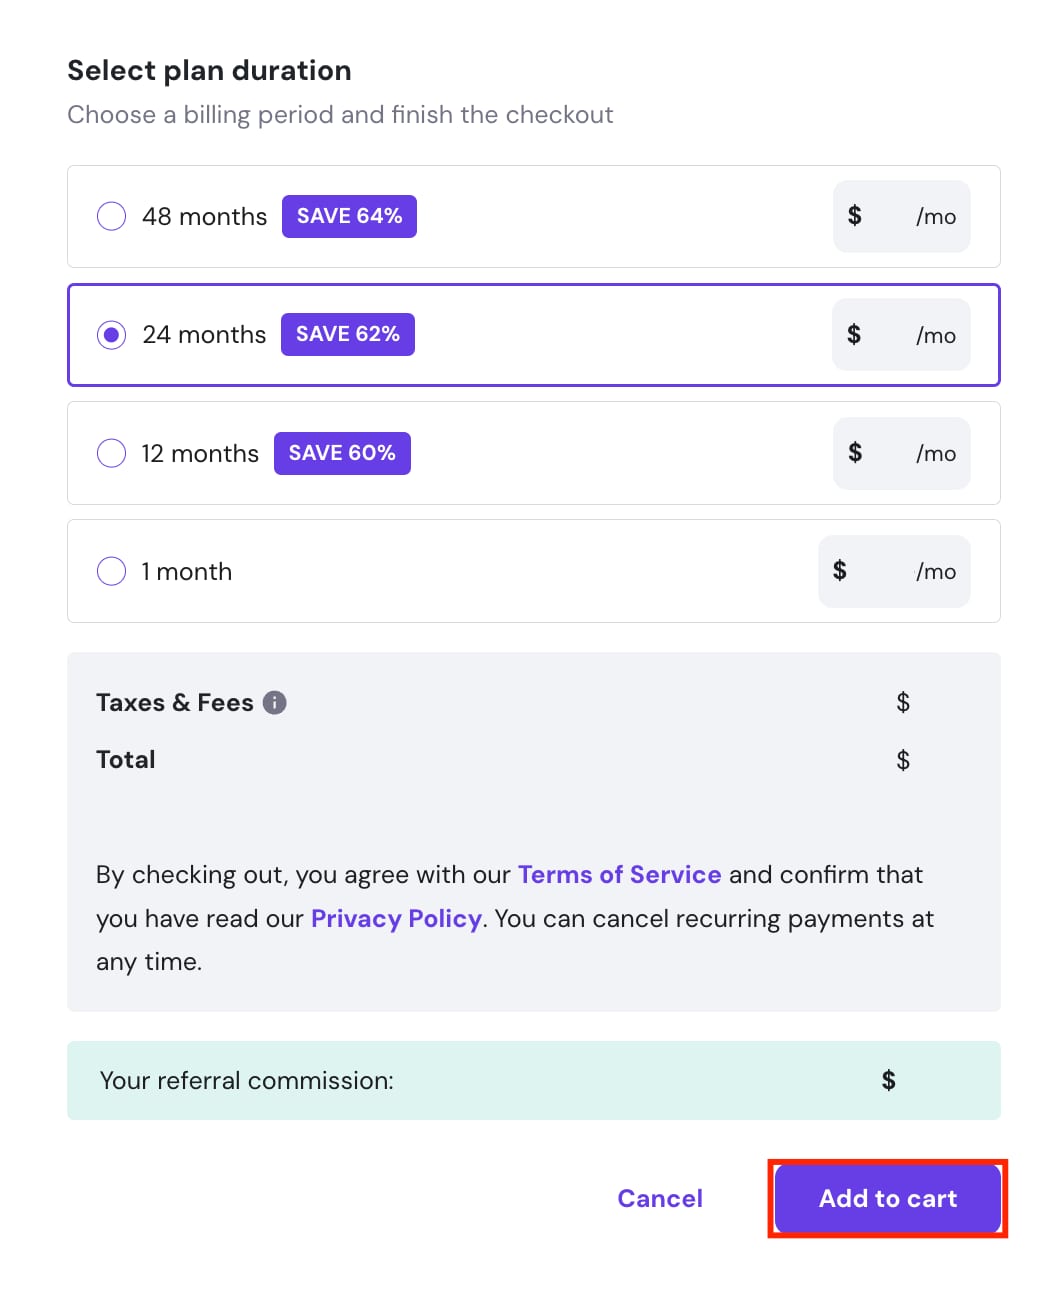
- En la secciónde la página principal, haz clic enAccount Sharing (Compartir cuenta).
- Serás redirigido a la páginaAccount Sharing. Haz clic enRequest access (Solicitar acceso).
- Introduce la cuenta a la que deseas solicitar accesoDirección de correo electrónico, y seleccionaNivel de acceso. Haz clic enAdd hosting plan (Agregar paquete de hosting).
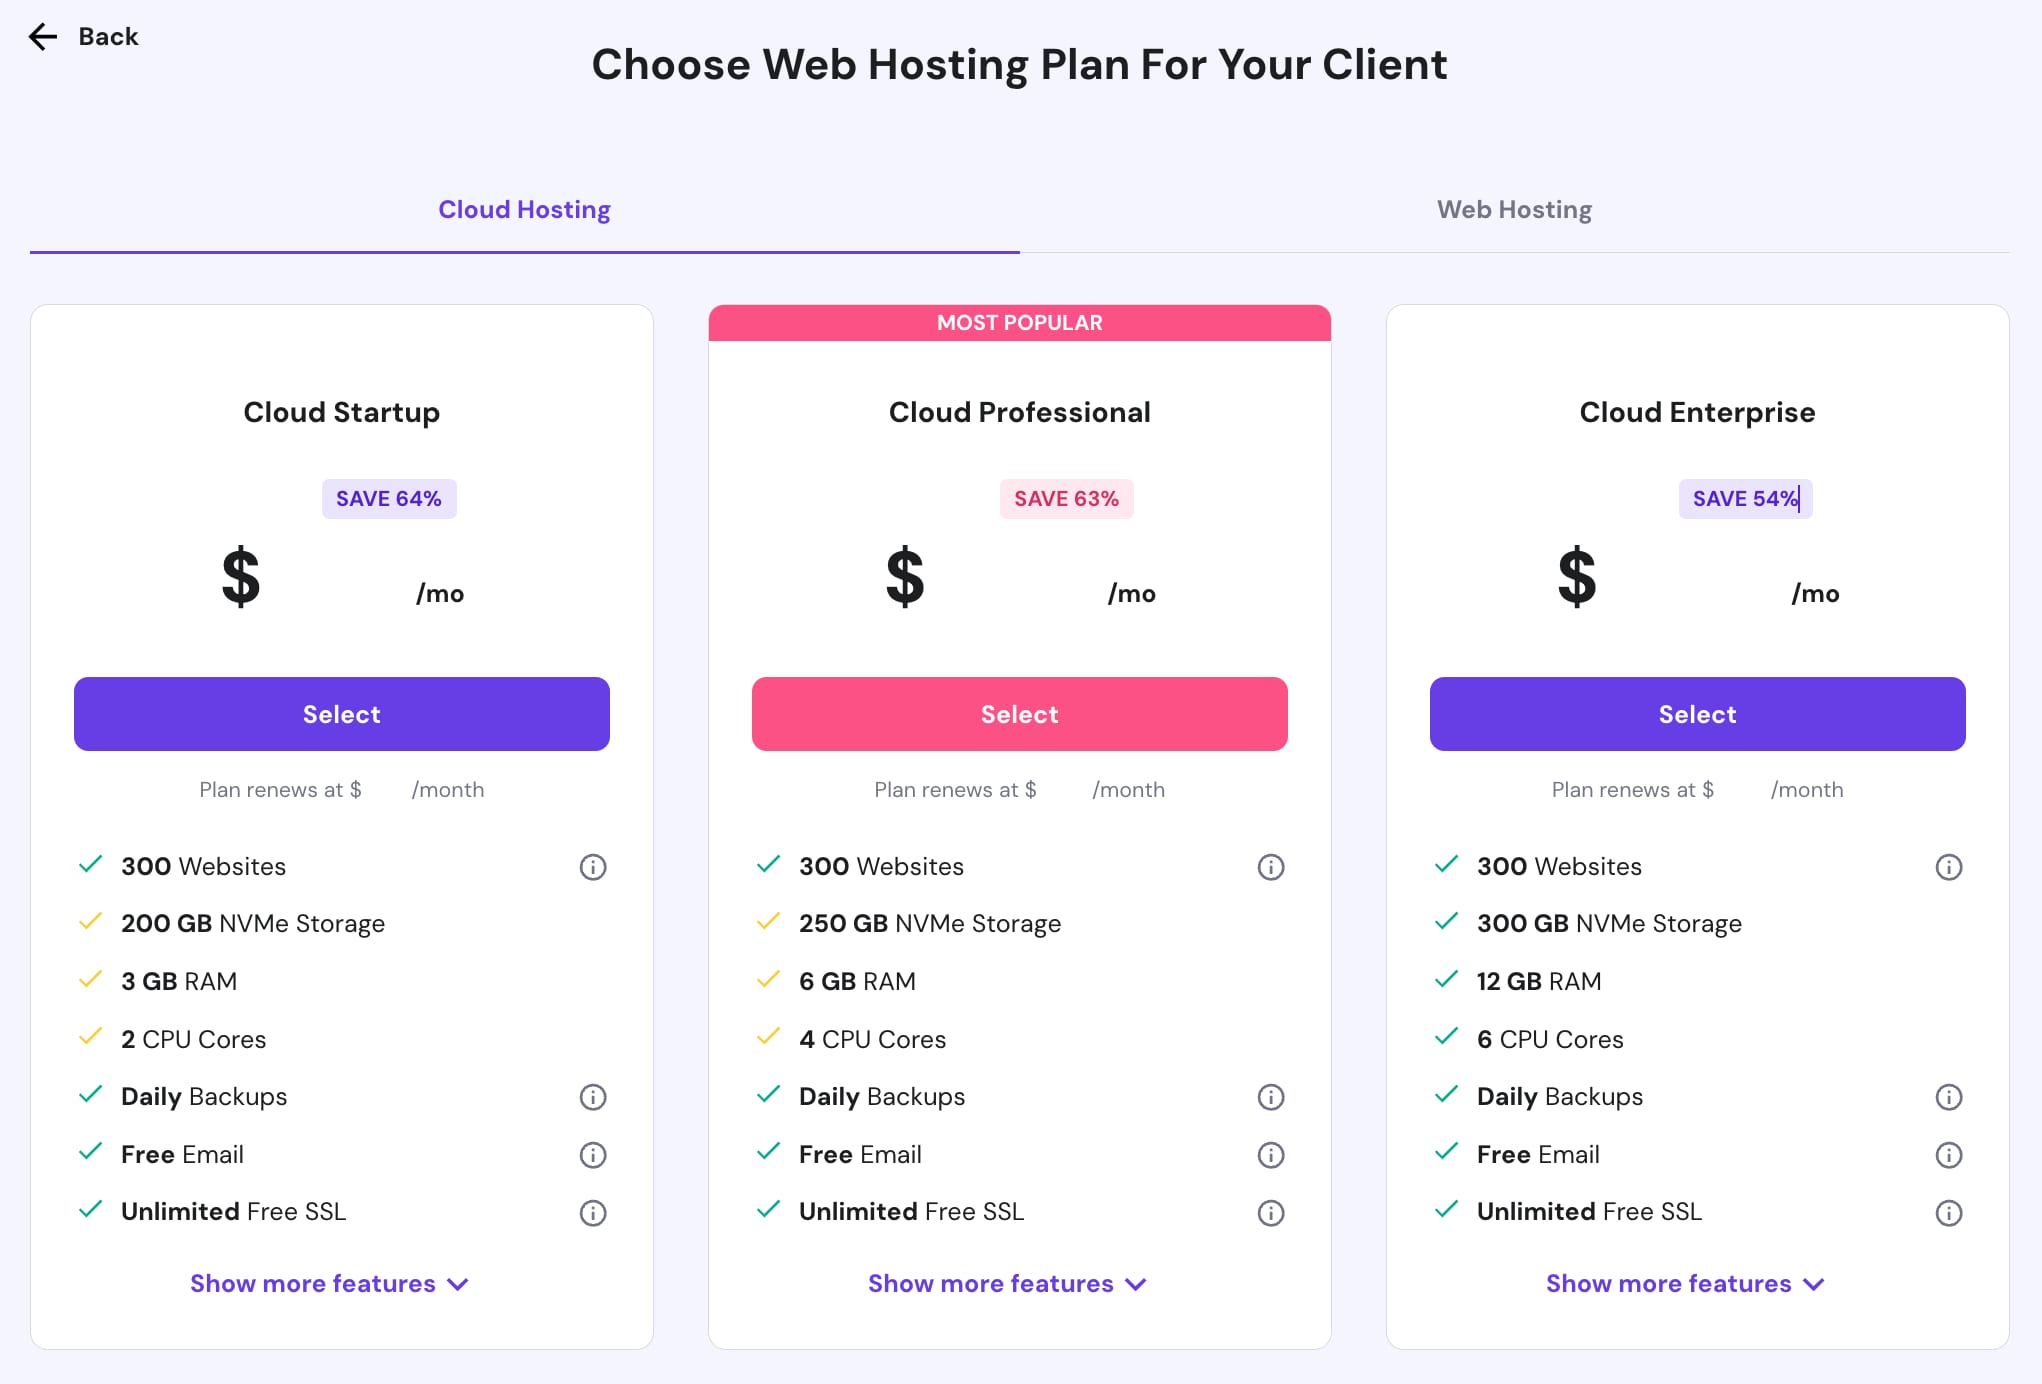
- Elige un paquete de alojamiento web para tu cliente.
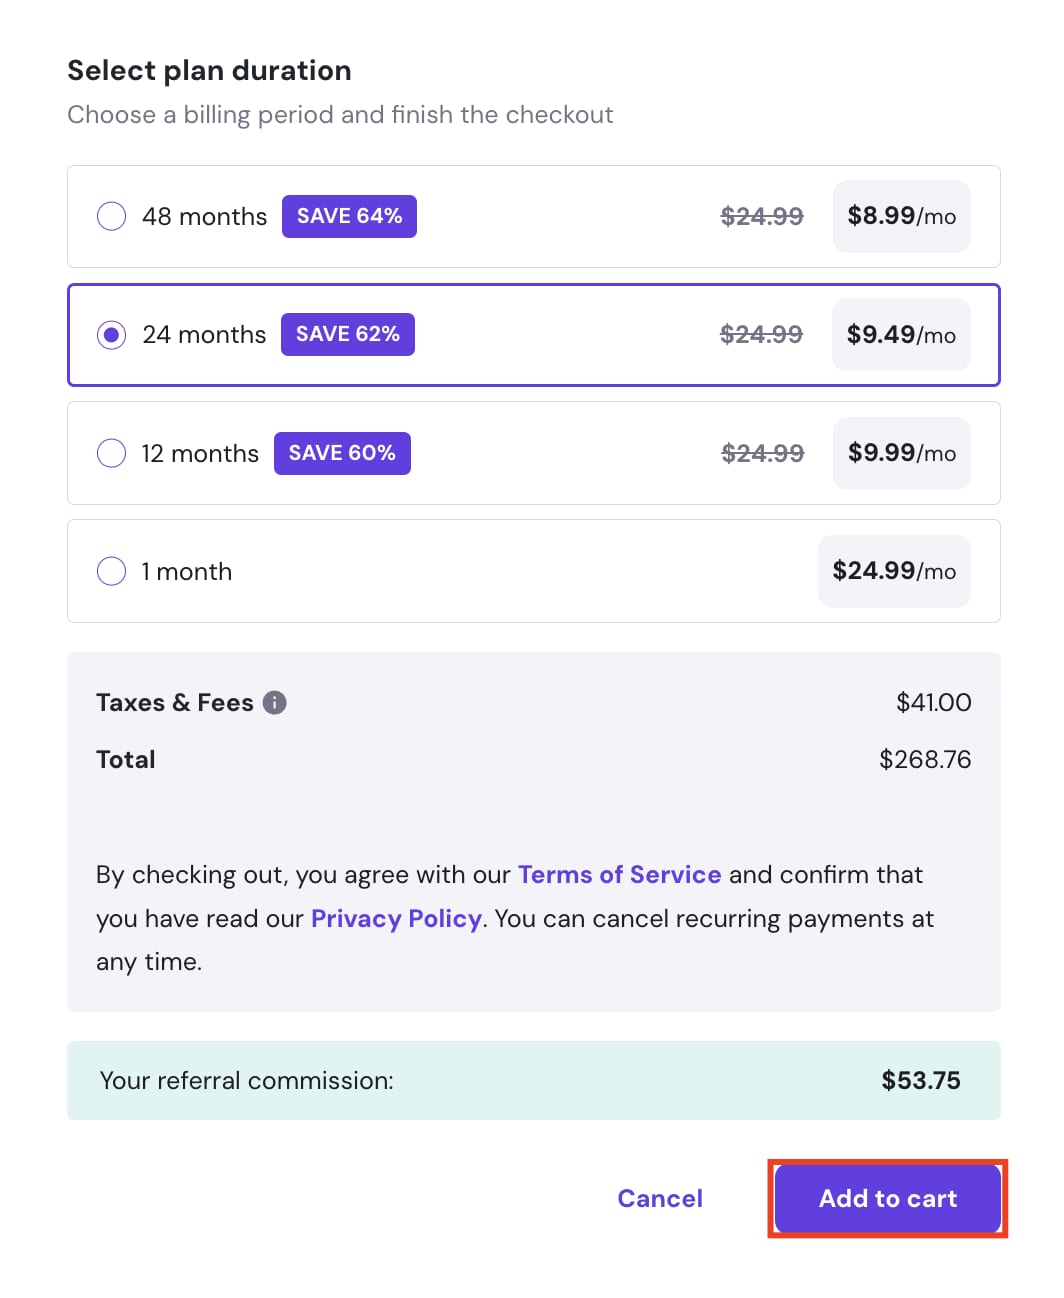
- Selecciona el paqueteDuración, luego haz clic enAdd to cart (Añadir al carrito).
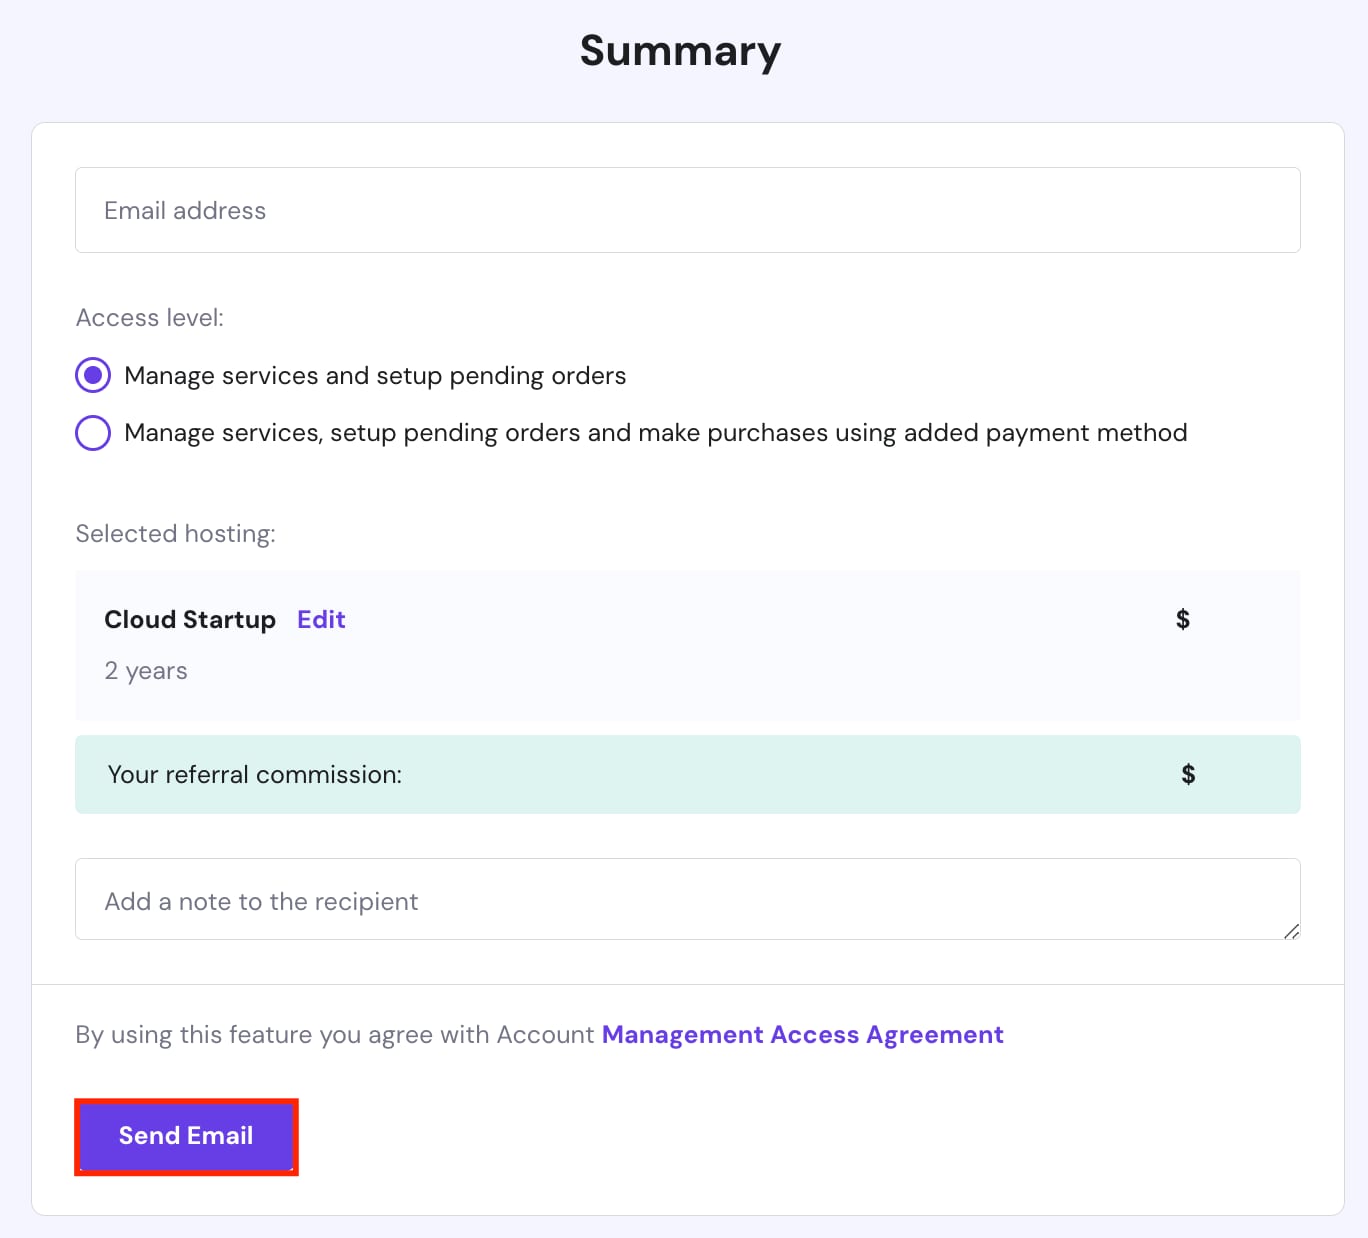
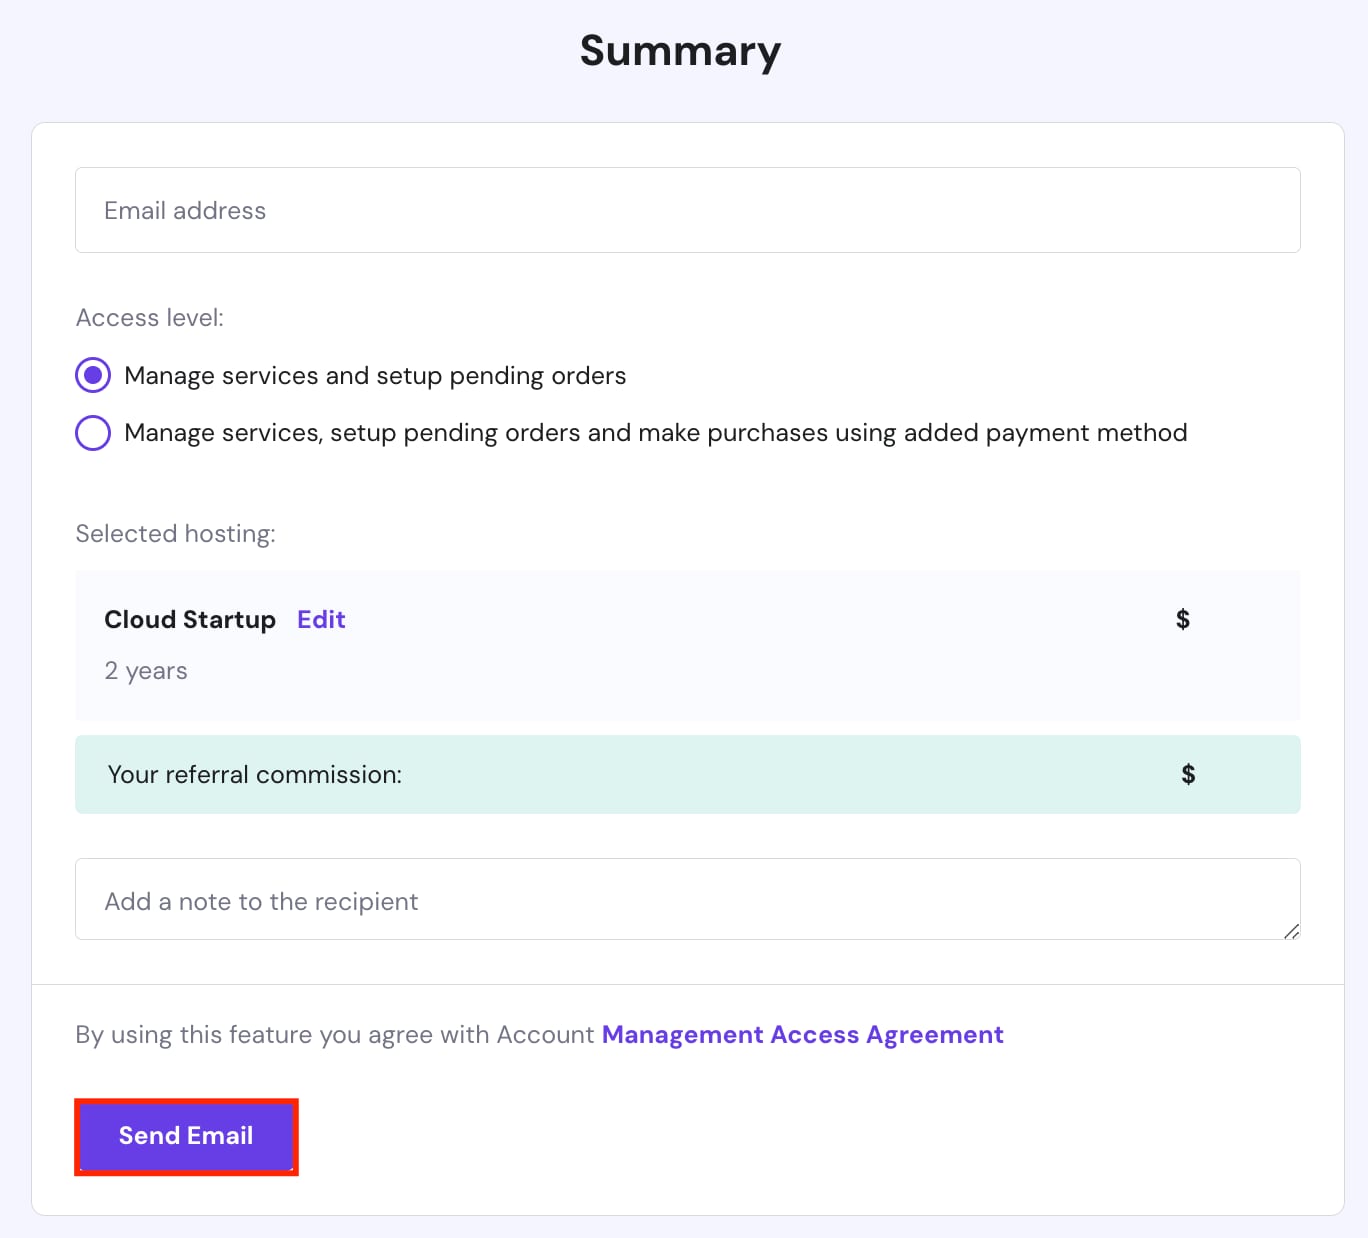
- Confirma el resumen de la solicitud y luego haz clic enSend Email (Enviar correo electrónico).
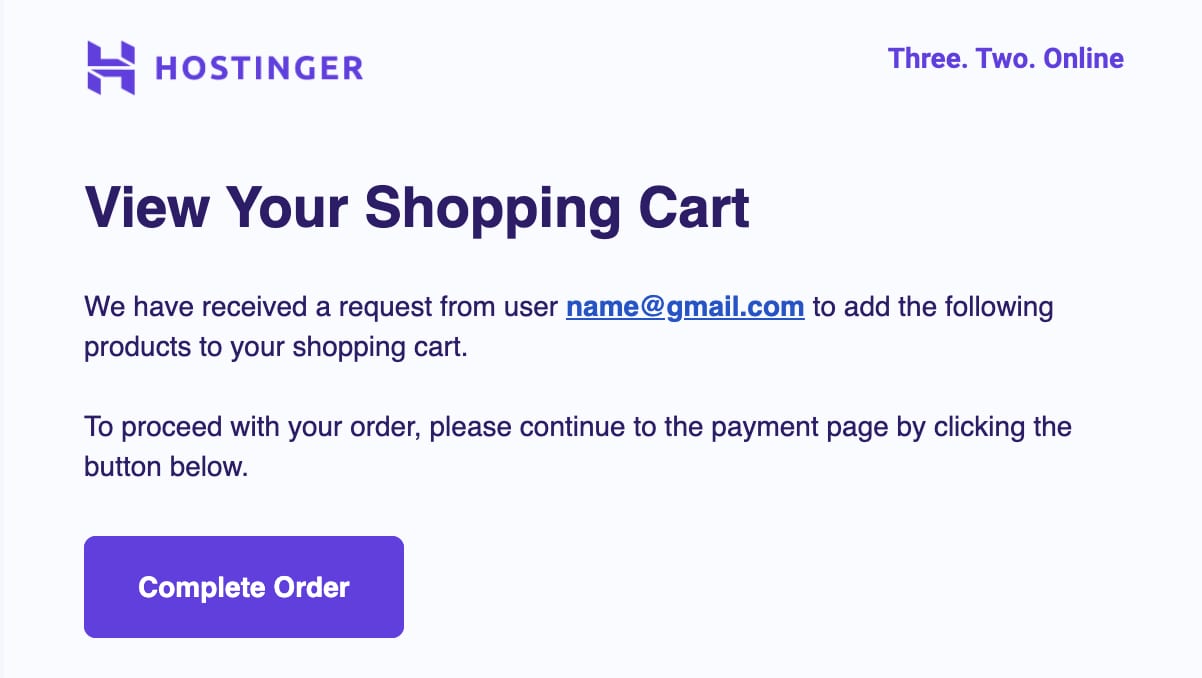
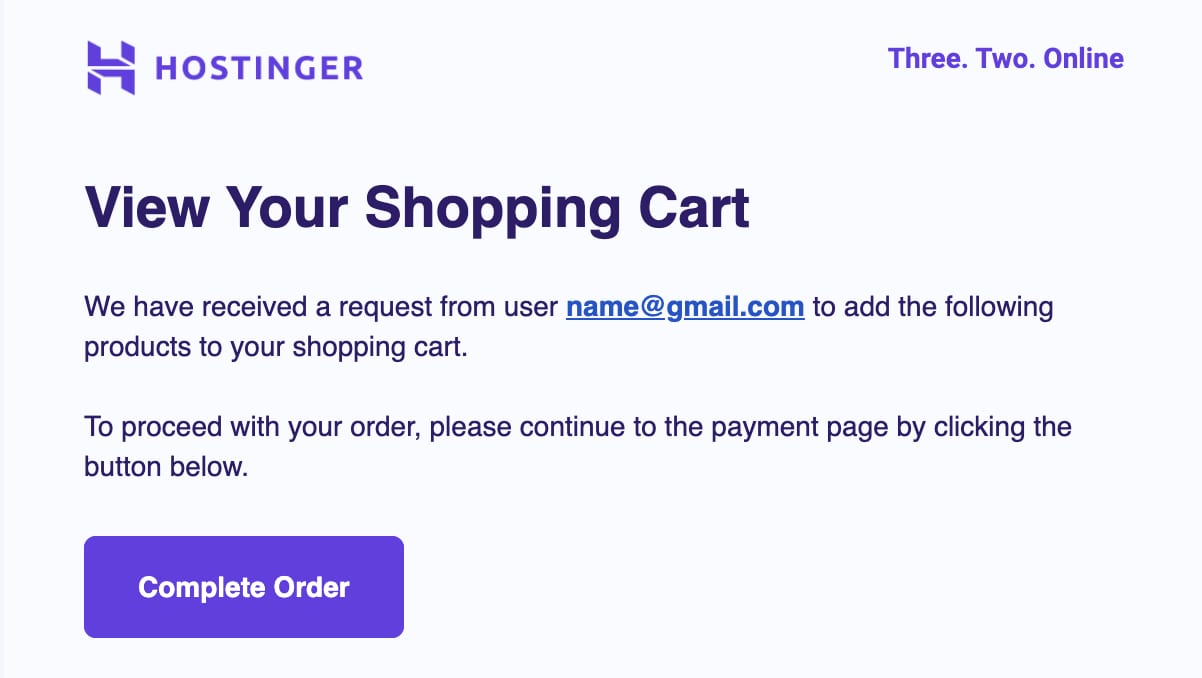
- Se enviará un correo electrónico a la cuenta solicitada paraconceder accesoycompletar el pedido.
Opción 2——Referencias (Referrals)

- En la página de iniciode hPanel, haz clic enReferrals (Recomendaciones).
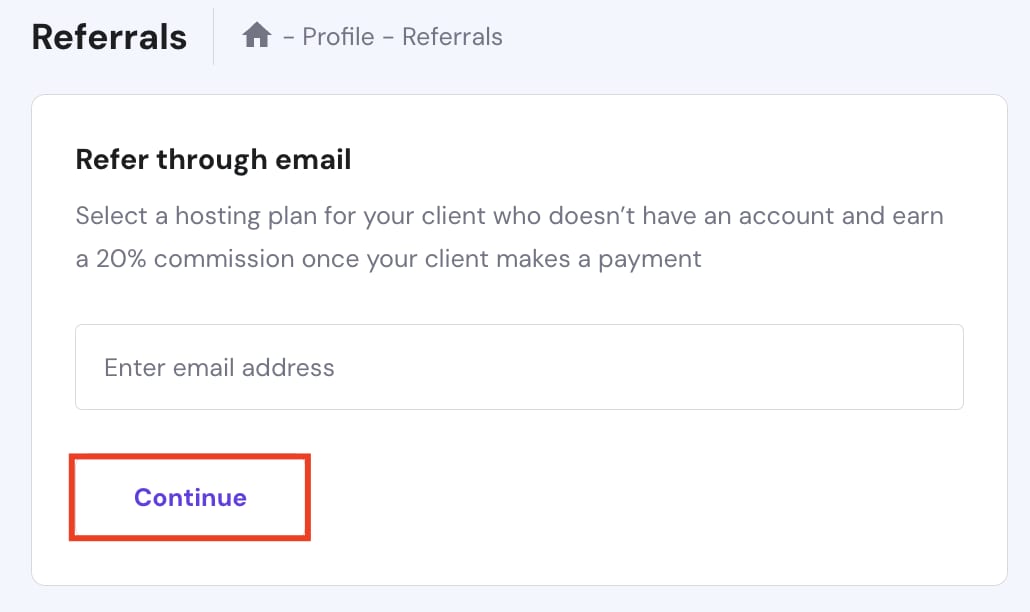
- Serás redirigido a la páginaReferrals. Para invitar a tus clientes, introduce sudirección de correo electrónicoy haz clic enContinue (Continuar).
- Elige unpaquete de alojamiento web para tu cliente.
- Selecciona la duración del paquete, y luego haz clic enAdd to cart (Añadir al carrito).
- Confirma el resumen de la solicitud, y luego haz clic enSend Email (Enviar correo electrónico).
- Se enviará un correo electrónico a la cuenta solicitada paraotorgar accesoycompletar el pedido.
¡Así es! Al hacer clic en el botónComplete order (Completar pedido), tus clientes podrán completar la compra en su lado.
Fuente: documentación oficial de Hostinger