Al desarrollar el sitio web WordPress, es importante evitar hacer modificaciones directamente en el sitio en línea. Una solución común y efectiva es usar un entorno temporal (staging environment), que es una copia de su sitio web en línea diseñada específicamente para pruebas. Este entorno independiente le permite probar las modificaciones de manera segura antes de aplicarlas al sitio en línea y asegurarse de que todo funcione como se espera.
En su paqueteAgency, puede crear y gestionar fácilmente un entorno temporal con solo unos pocos clics.
Cómo crear un entorno temporal
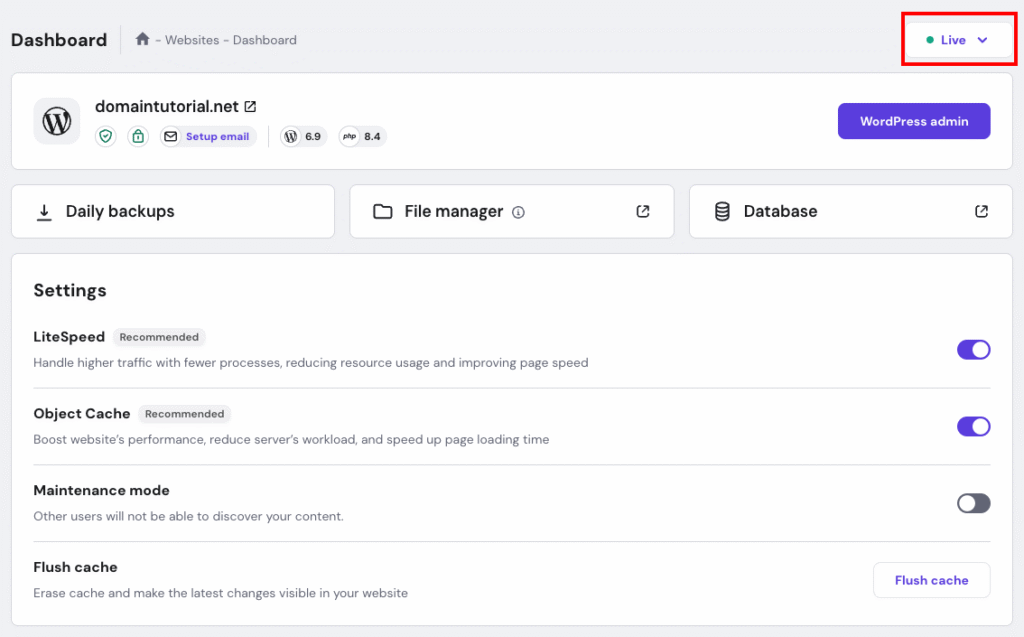
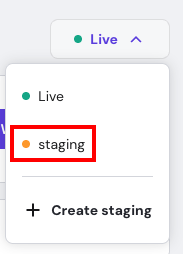
AbraWebsite→ Dashboard (panel de control). EnDashboard (panel de control), haga clic en el botónLive (en línea)a la derecha.
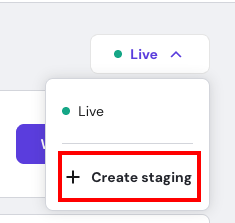
A continuación, haga clic enCreate staging (crear entorno temporal).
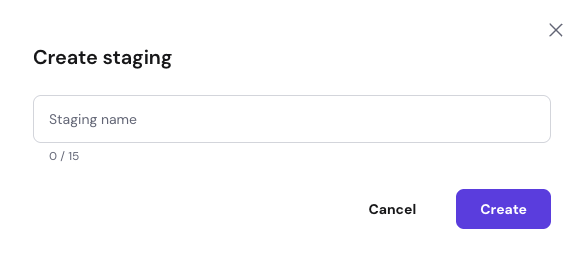
Ingrese el nombre que desee para el entorno temporal.
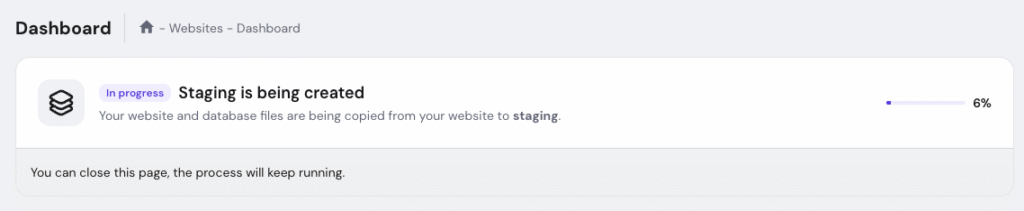
Espere a que se complete la creación del entorno temporal.
- Si su nombre de dominio apunta a través del servidor de nombres aotro proveedor, asegúrese de crear un registro A para el subdominio temporalen la zona DNS que esté actualmente activa y diríjalo a suIP de alojamiento.
Cómo gestionar el entorno temporal

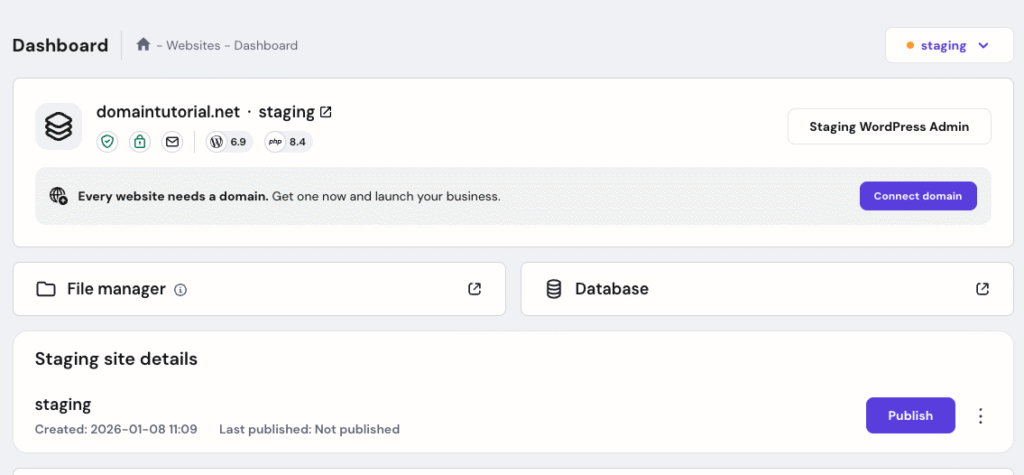

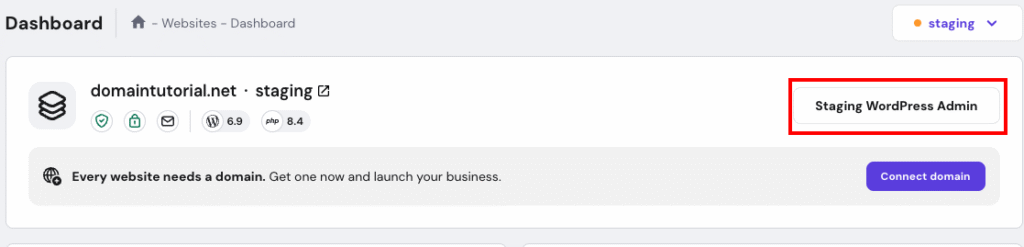

Cuando haya completado el trabajo en el sitio temporal y esté listo para publicarlo, puede hacer clic enPublish (Publicar)para enviar las modificaciones.
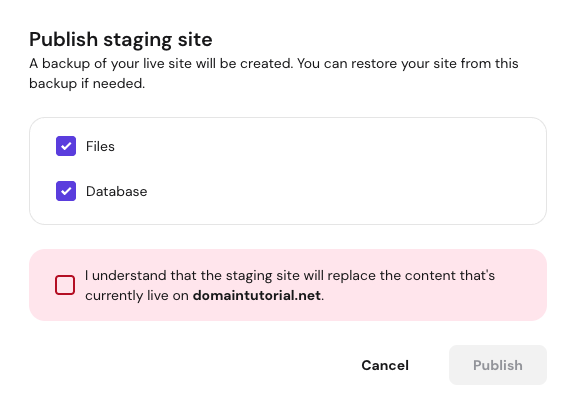
Puede elegir el contenido que desea publicar en el entorno de producción:Solo archivos,Solo base de datos, oTanto archivos como base de datos.
Haga clic enPublish (Publicar)para confirmar que entiende que el sitio temporal reemplazará su sitio en línea.
La publicaciónreemplazará el contenido con la copia temporal. Si realizó modificaciones en el sitio original después de crear el entorno temporal, se perderán.
- Eliminar el entorno temporal.
Atención
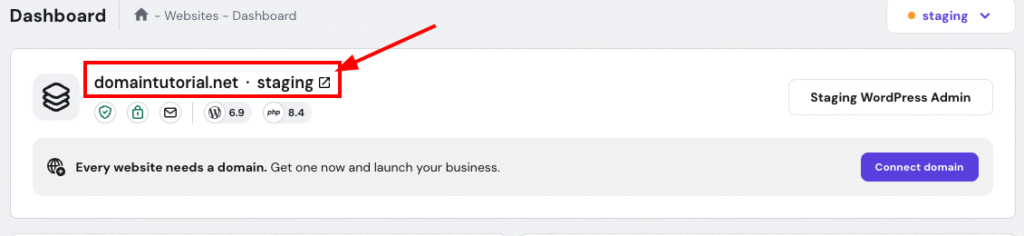
- El sitio web temporal se creó con un dominio temporal.
Fuente: documentación oficial de Hostinger