A partir de enero de 2026, Gmail dejará de ofrecer soporte para conexiones POP3 en navegadores web y cuentas de correo de terceros Gmailify. Las conexiones a través de IMAP seguirán estando disponibles a través de las aplicaciones móviles (Android y iOS).Para más información, consulta.
Es importante entender la diferencia entre la conexión IMAP y Google Workspace:
Conexión IMAP:Tienes Hostinger Email(prueba gratuita, Business Starter o Business Premium) y deseas leer/enviar correos en la aplicación móvil Gmail. Tus correos siguen alojados en los servidores de Hostinger; Gmail es solo la interfaz.
Paquete Google Workspace (G Suite):Compraste Google Workspace en Hostinger. Gmailes tu servicio de correo—sin necesidad de puente IMAP. Inicias sesión en Gmail directamente con tu dirección de dominio personalizado.
¿No estás seguro de cuál tienes? ConsultahPanel → Emails.
Para configurarGmail en Hostinger Emailen tu teléfono inteligente, asegúrate de:
- Ya has creado una cuenta de correo en Hostinger Email
- Tu dominio ya haapuntado a Hostinger
- Los registros correctos deHostinger Email MX han sido añadidosa la zona DNS del dominio
Luego, sigue los siguientes pasos 👇
👉 Recolecta los detalles de la cuenta Hostinger Email
Recolecta losdetalles de configuración de tu cuenta de correo:
| IMAP(entrada) | POP3(entrada) | SMTP(salida) |
|---|---|---|
| Host:imap.hostinger.com | Host:pop.hostinger.com | Host:smtp.hostinger.com |
| Cifrado:SSL | Cifrado:SSL | Cifrado:SSL |
| Puerto:993 | Puerto:995 | Puerto:465 |
Si no estás muy segurocontraseña de correo, puedes fácilmenterestablecerla.
👉 Configurar Hostinger Email en Android Gmail
Paso 1 – Instalar la aplicación
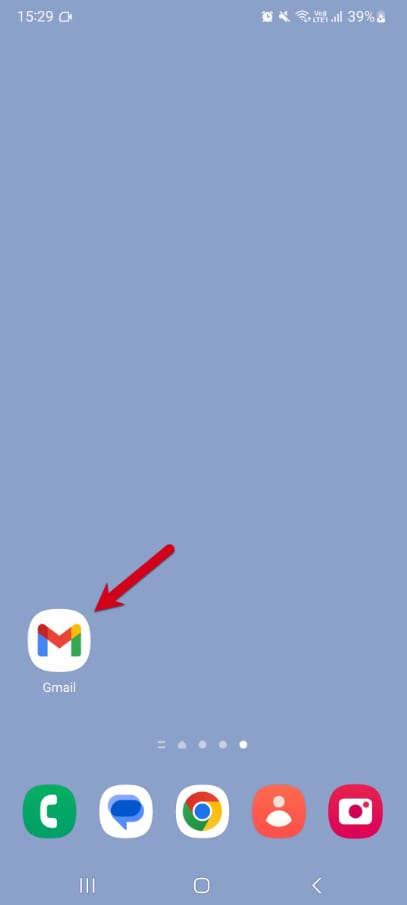
Primero, asegúrate de que la aplicación Gmail esté instalada en tu dispositivo.
- iOS (iPhone, iPad) desdeApp Storedescargar
- Android desdePlay Storedescargar
Después de la instalación, abre la aplicaciónGmail en tu dispositivo Android.
Paso 2 – Entrar en configuración
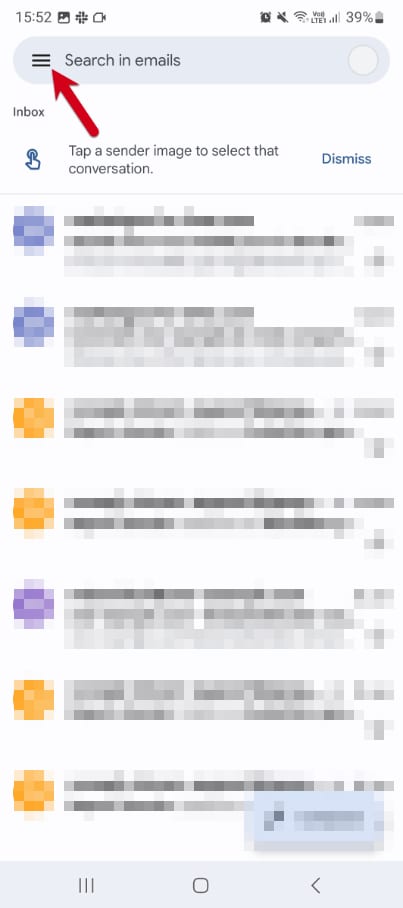
Toca el ícono de menú en la esquina superior izquierda para desplegar la barra lateral.
Desplázate hasta el final y tocaConfiguración (Settings).
Paso 3 – Toca “Agregar cuenta (Add account)”
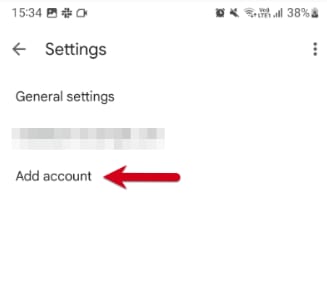
TocaAgregar cuenta (Add account)para iniciar el proceso de configuración del correo.
Paso 4 – Selecciona “Otro (Other)”
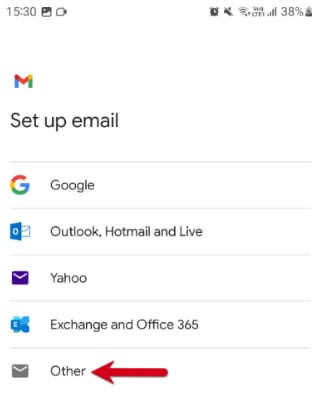
SeleccionaOtro (Other)como el tipo de cuenta que deseas configurar.
Paso 5 – Ingresa tu dirección de correo
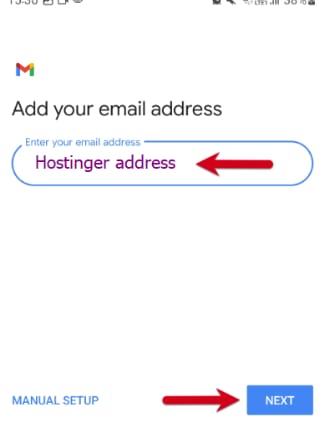
Ingresa tu dirección de correo completa Hostinger (por ejemployourname@yourdomain.com).
Haga clic enNext (Siguiente).
Paso 6 – Seleccione IMAP
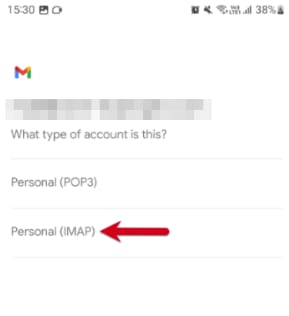
Cuando se le pregunte por el tipo de cuenta, seleccioneIMAP.
Paso 7 – Introduzca su contraseña de correo
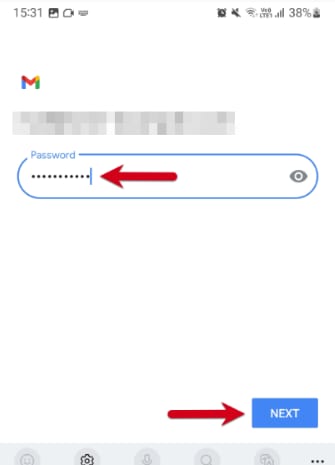
Introduzca la contraseña que utiliza para iniciar sesión en Hostinger Webmail.
Haga clic enNext (Siguiente).
Paso 8 – Configurar el servidor entrante
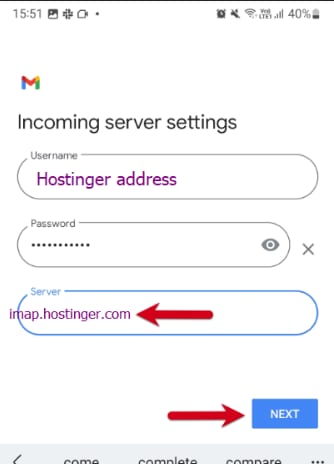
Configure el servidor de correo entrante como:
imap.hostinger.com
Haga clic enNext (Siguiente).
Paso 9 – Configurar el servidor saliente
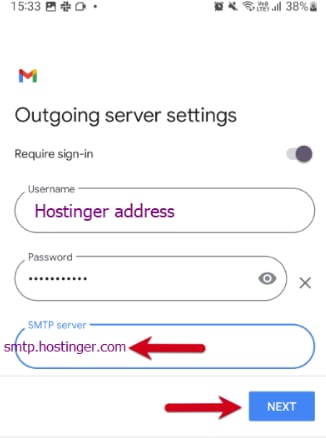
Configure el servidor de correo saliente como:
smtp.hostinger.com
Haz clicsiguiente.
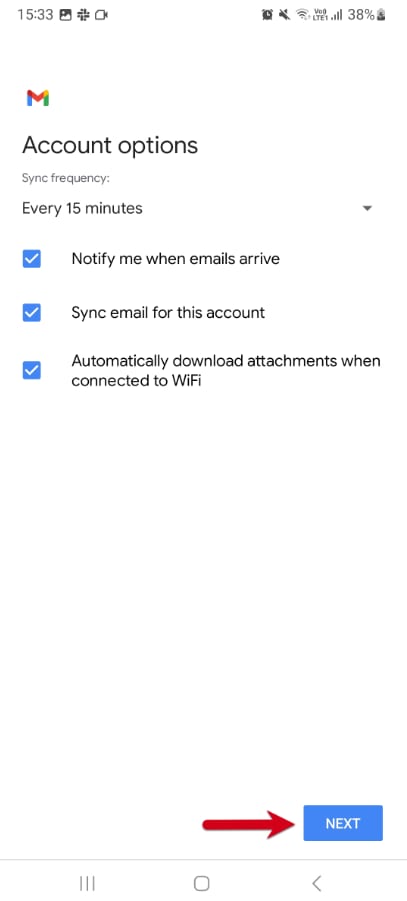
Step 10 – Selecciona opciones de cuenta
ajustar Gmail comprobar la frecuencia de los nuevos correos, si se necesitan notificaciones y otros ajustes de sincronización. Desmarca las opciones que no necesitas y luego haz clicSiguiente.
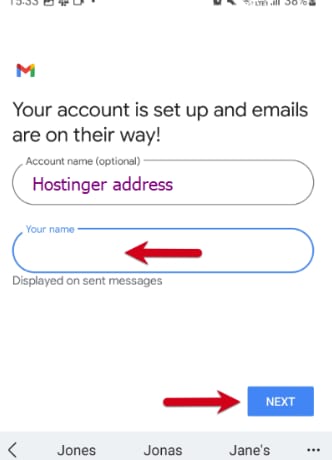
11Step – Completar el setup
es así! Tu cuenta de correo electrónico Hostinger ya ha sido añadida y está disponible en la app Gmail. Puedes elegir añadir un nombre a tu dirección y luego hacer clicSiguientecompletar la configuración.
Solución de problemas
La mayoría de los errores están relacionados conincorrectos deparámetros introducidos en el cliente de correo. En este caso, se recomienda encarecidamente restablecer lade contraseña y volver a introducir los parámetros para asegurarse de que la configuración IMAP o POP3 y SMTP coinciden con las de la tabla anterior.
Fuente: documentación oficial de Hostinger