Hostinger Se puede utilizar la copia de seguridad automática existente para restaurar fácilmente los archivos del sitio web y la base de datos a un estado anterior. Este proceso no se aplica a los sitios web creados con la herramienta de construcción de sitios Hostinger.

Precauciones iniciales

  • Después de restaurar la copia de seguridad, el sitio volverá al estado en que se encontraba cuando se creó la copia; cualquier cambio realizado después de la fecha de la copia se deshará.
  • Como medida de seguridad adicional, antes de restaurar se puede descargar primero los datos actuales del sitio web a la computadora local.
  • Los métodos siguientes son aplicables para restaurar el sitio web, los archivos y la base de datos dentro de la misma cuenta. Para restaurar entre diferentes cuentas de Hostinger, consulte la guía de migración correspondiente.

Vaya a la sección de Sitios web (Websites), busque el sitio deseado y haga clic en “Panel (Dashboard)”, en la barra lateral encuentre Copias de seguridad (Backups) y haga clic.

Método 1 – Restauración completa del sitio web WordPress
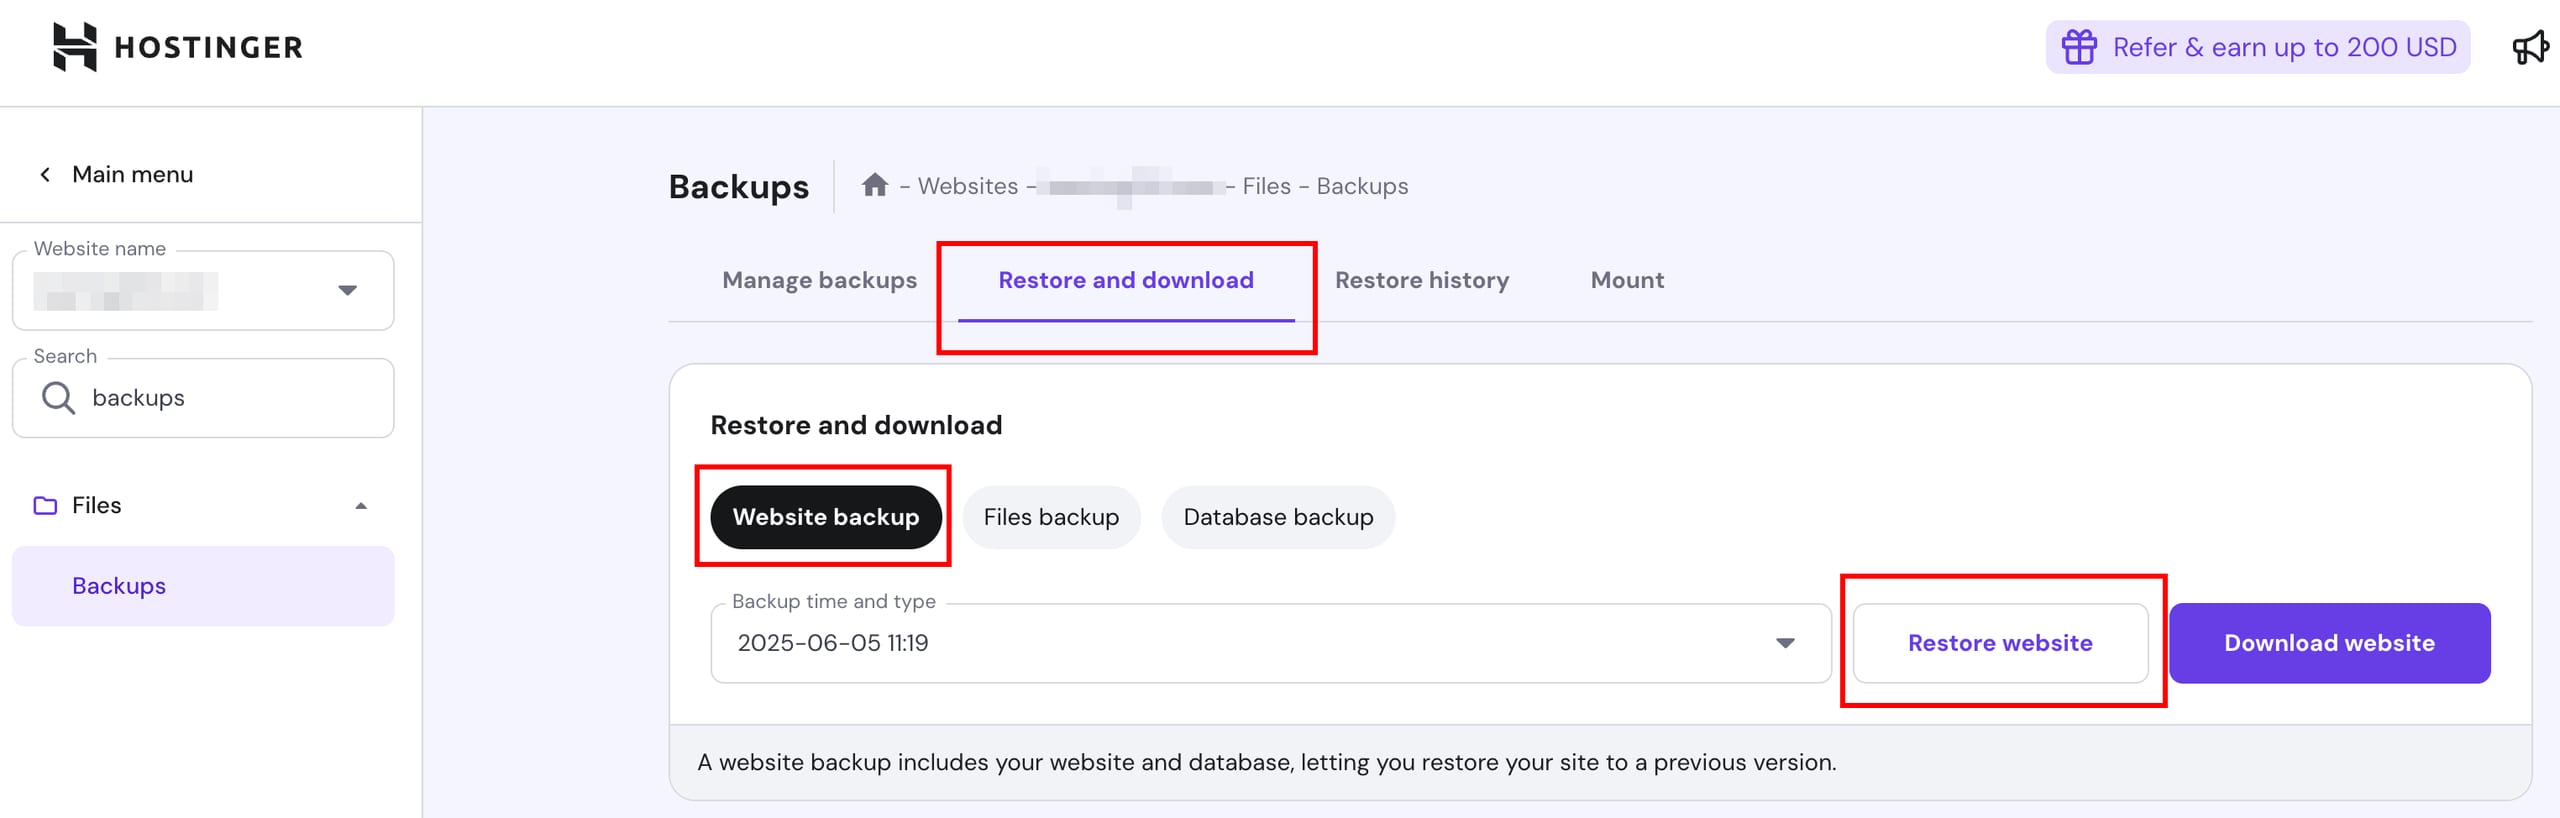
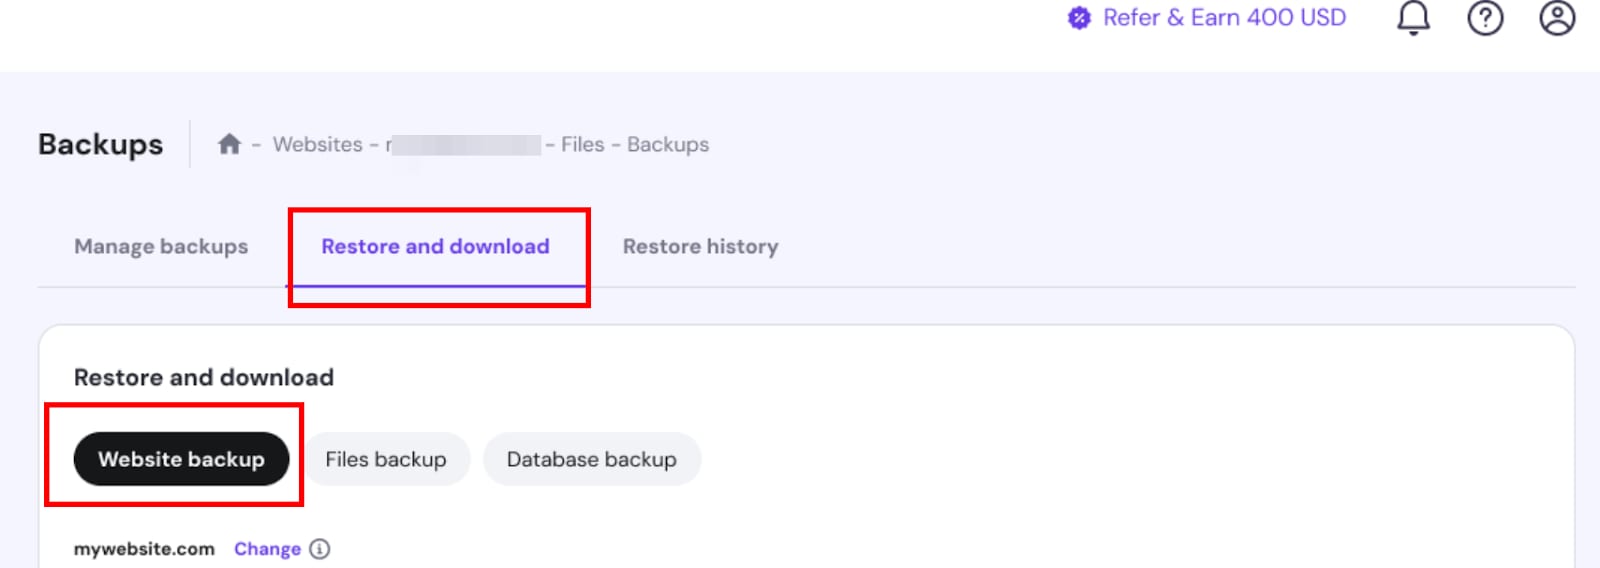
Hostinger backups page with Restore and download tab, Website backup selected, Restore website button highlighted
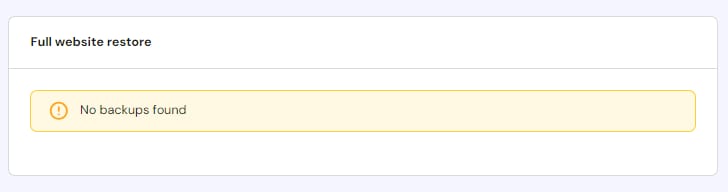
Hostinger hPanel full website restore screen showing a highlighted “No backups found” warning
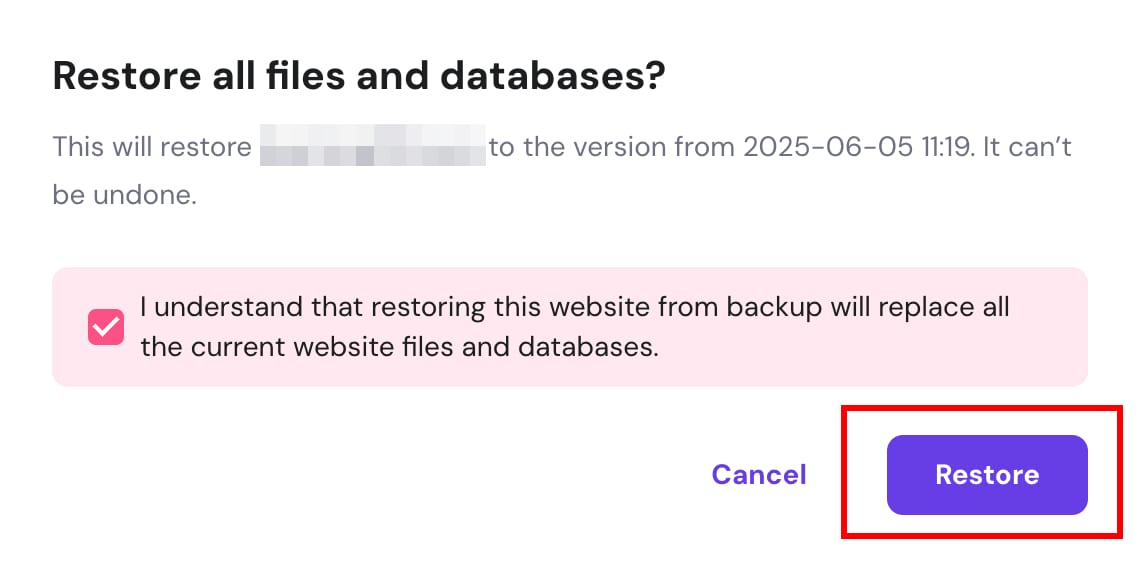
Hostinger backup restore confirmation with Restore button highlighted
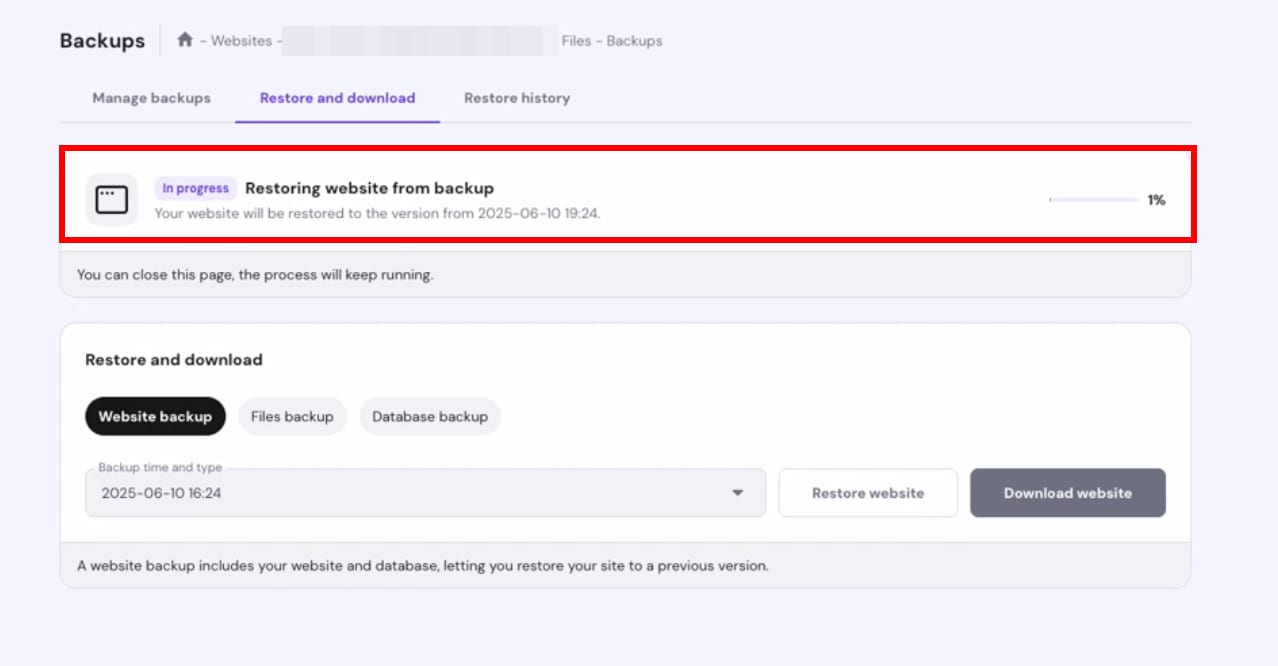
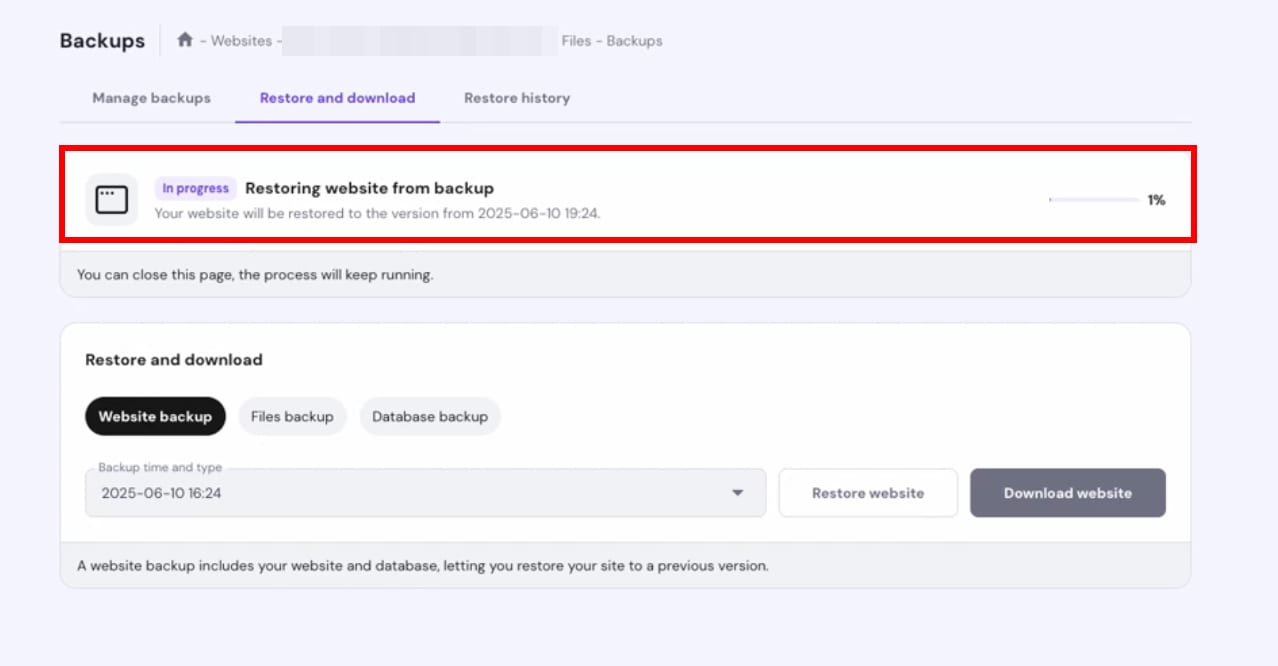
Hostinger backups page showing website restore in progress at 1%
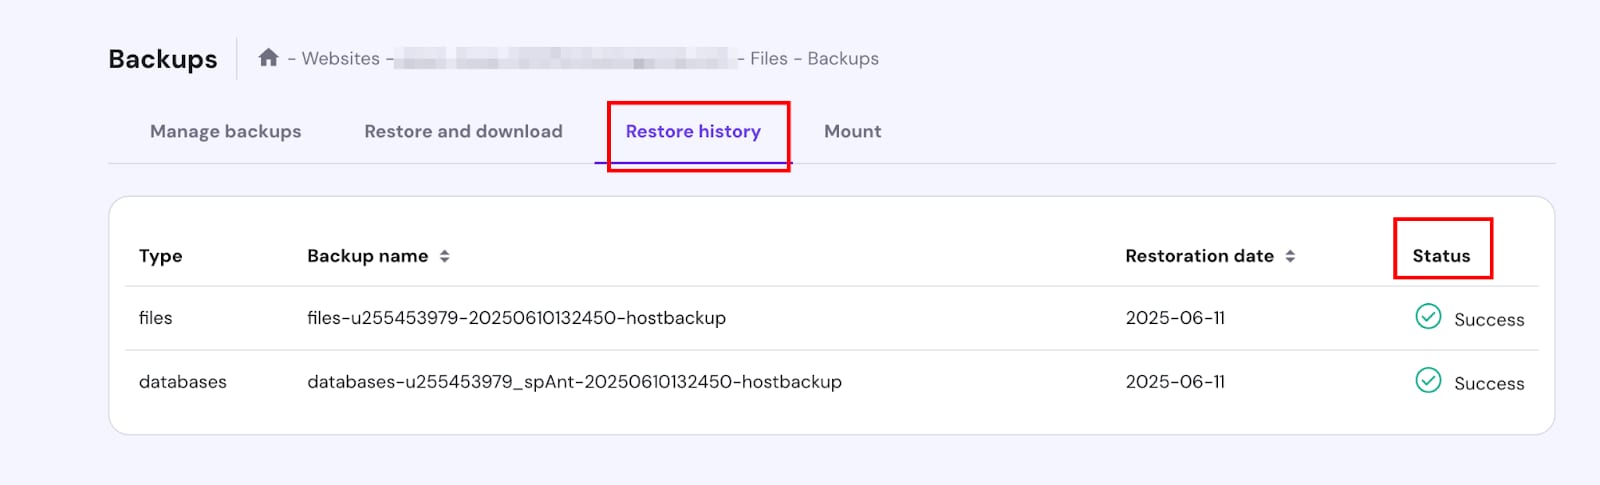
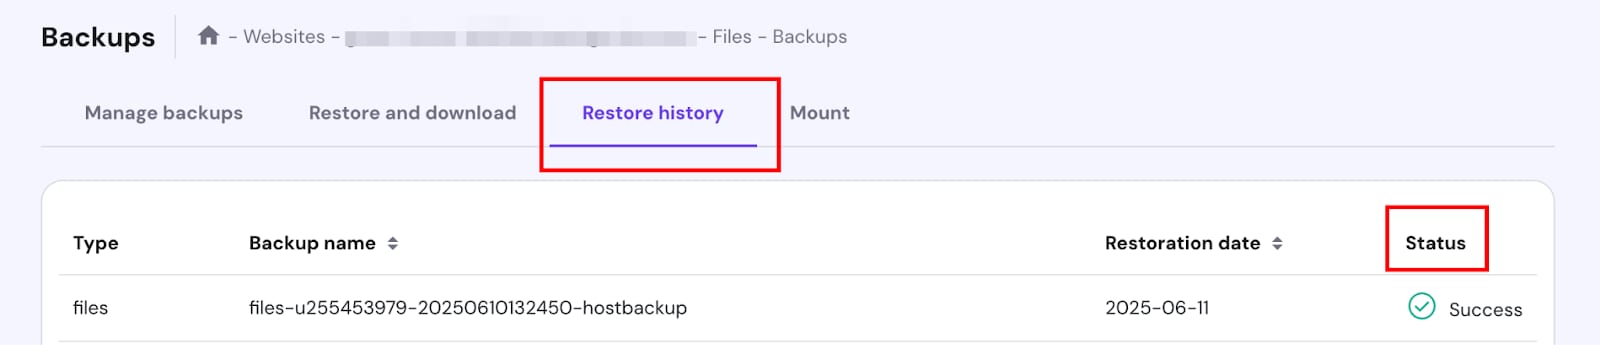
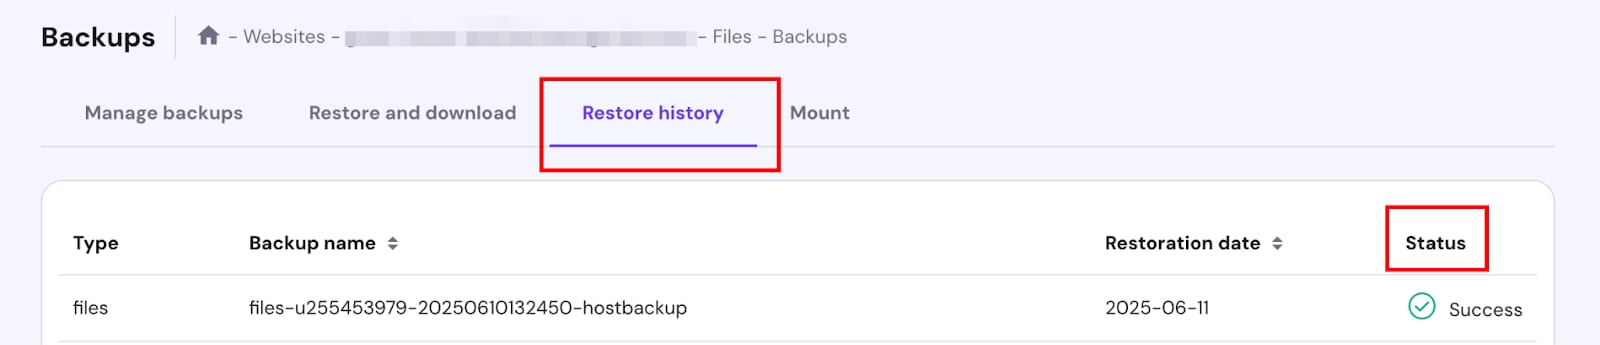
Hostinger Backups restore history tab and status column highlighted in backup table

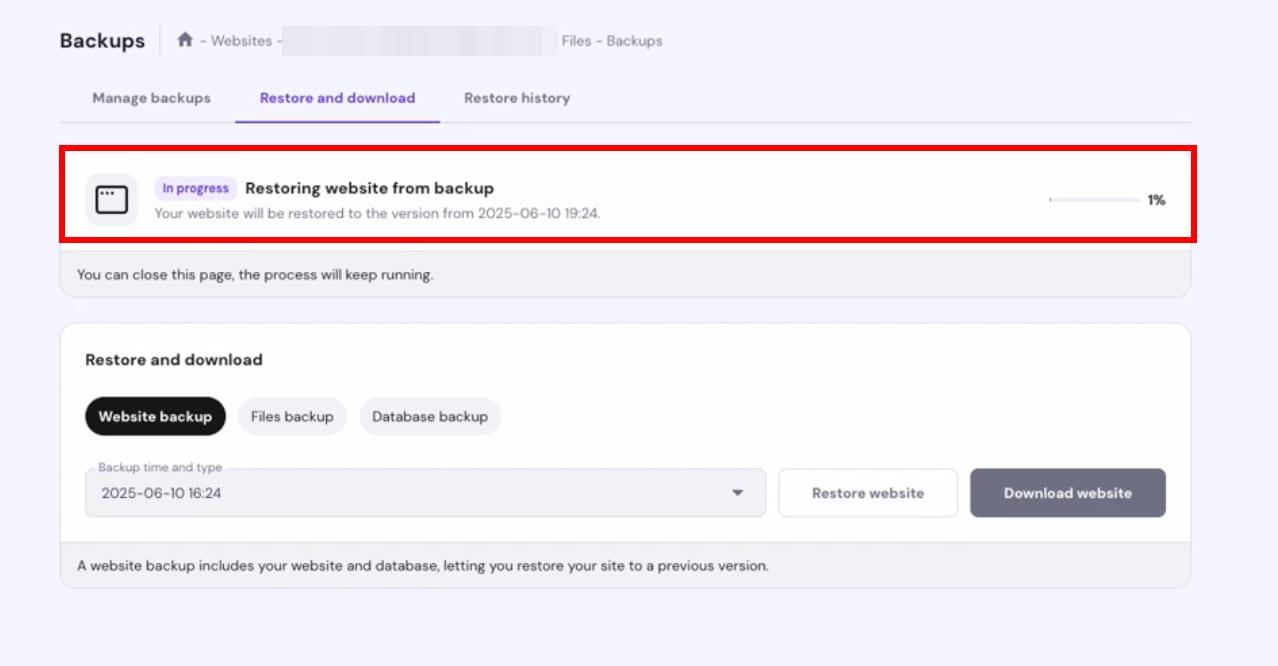
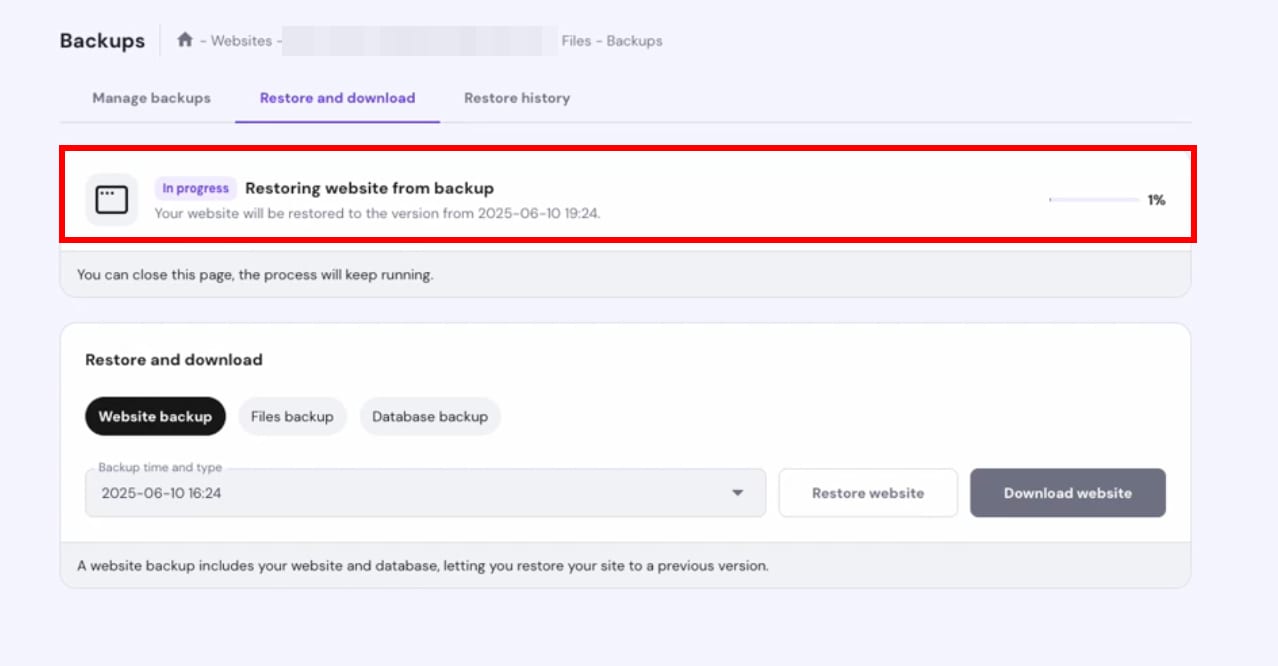
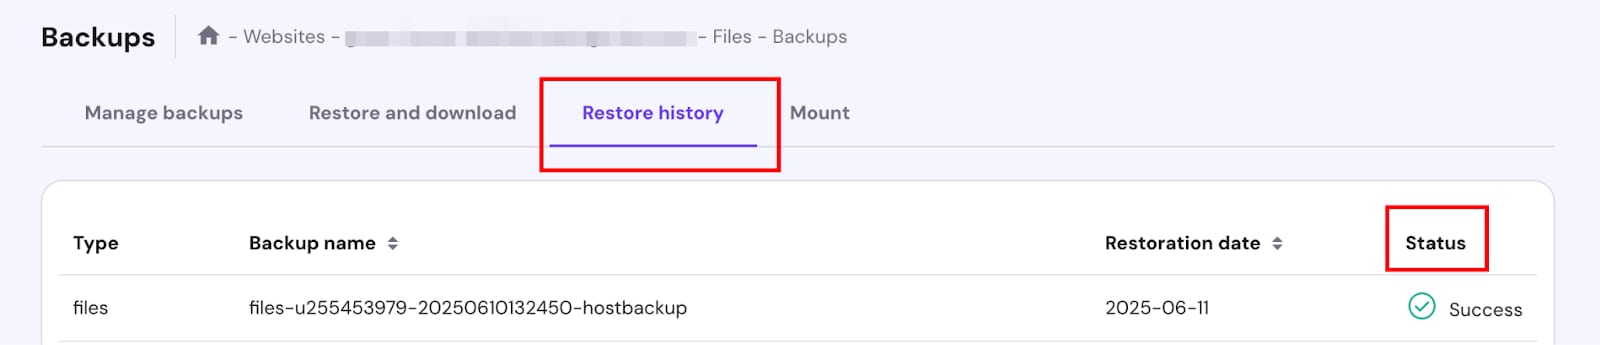
Solo aplica para sitios web WordPress, permite restaurar todos los archivos y la base de datos con un solo clic. En la página de copias de seguridad, esta opción está seleccionada por defecto. En la lista desplegable, seleccione el dominio y la fecha deseada, haga clic en “Restaurar sitio web (Restore website)”, confirme y luego haga clic nuevamente en “Restaurar (Restore)”. Por lo general, toma de 10 a 15 minutos, y se puede consultar el progreso en la pestaña “Historial de restauración (Restore History)”. Después de completar, por favor borre la caché del navegador antes de acceder.

Método 2 – Restaurar sitios web, subdominios o directorios específicos
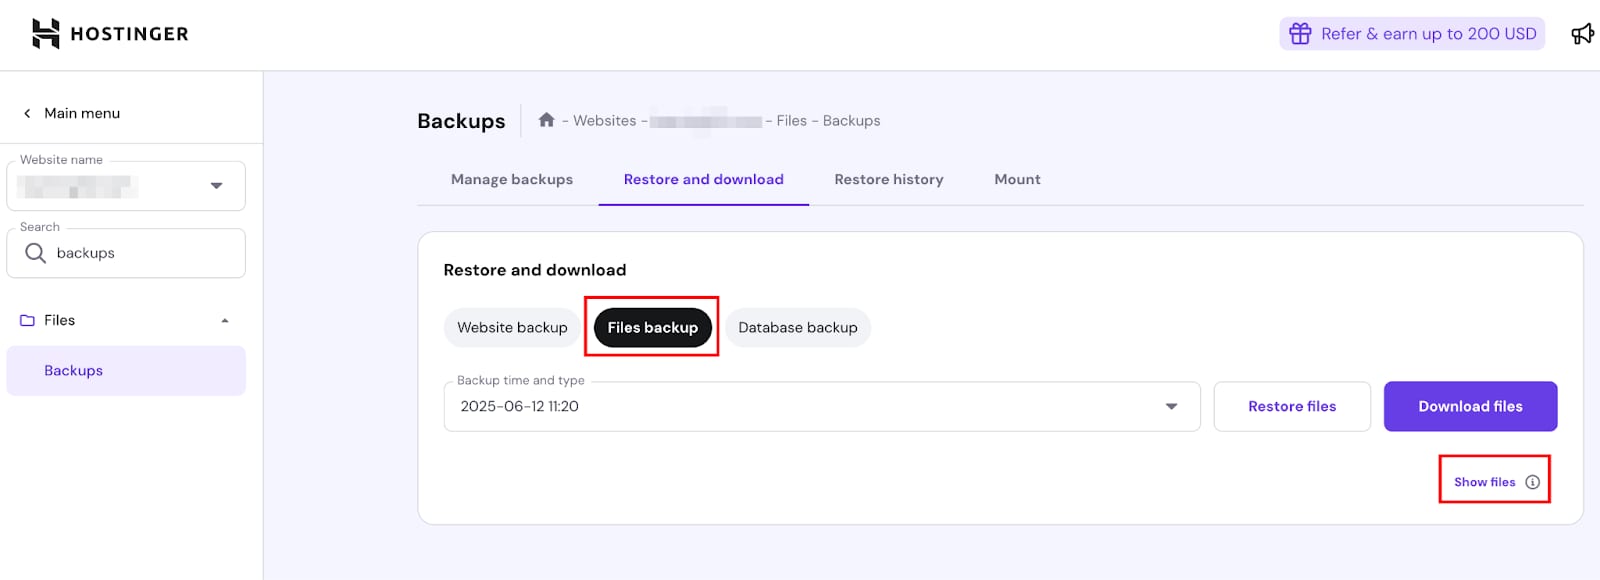
Hostinger Backups page with Files backup tab selected and Show files link highlighted
Hostinger backup files list with Restore selected button highlighted
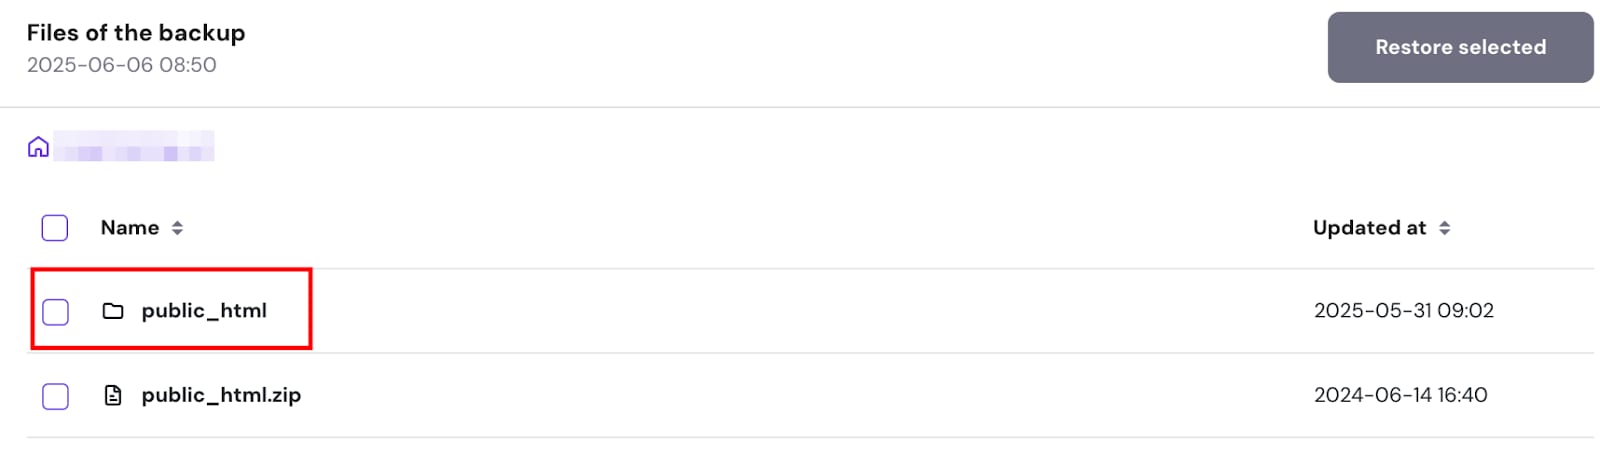
Hostinger backup files list with public_html folder selected for restore
Backup restore screen with subdomain1 selected and a Restore selected button
Hostinger backups page showing website restore in progress at 1%
Hostinger backups page with Restore history tab and Status column highlighted

Adecuado para casos donde se alojan múltiples sitios web, subdominios o directorios y solo se desea restaurar selectivamente algunos archivos o carpetas.
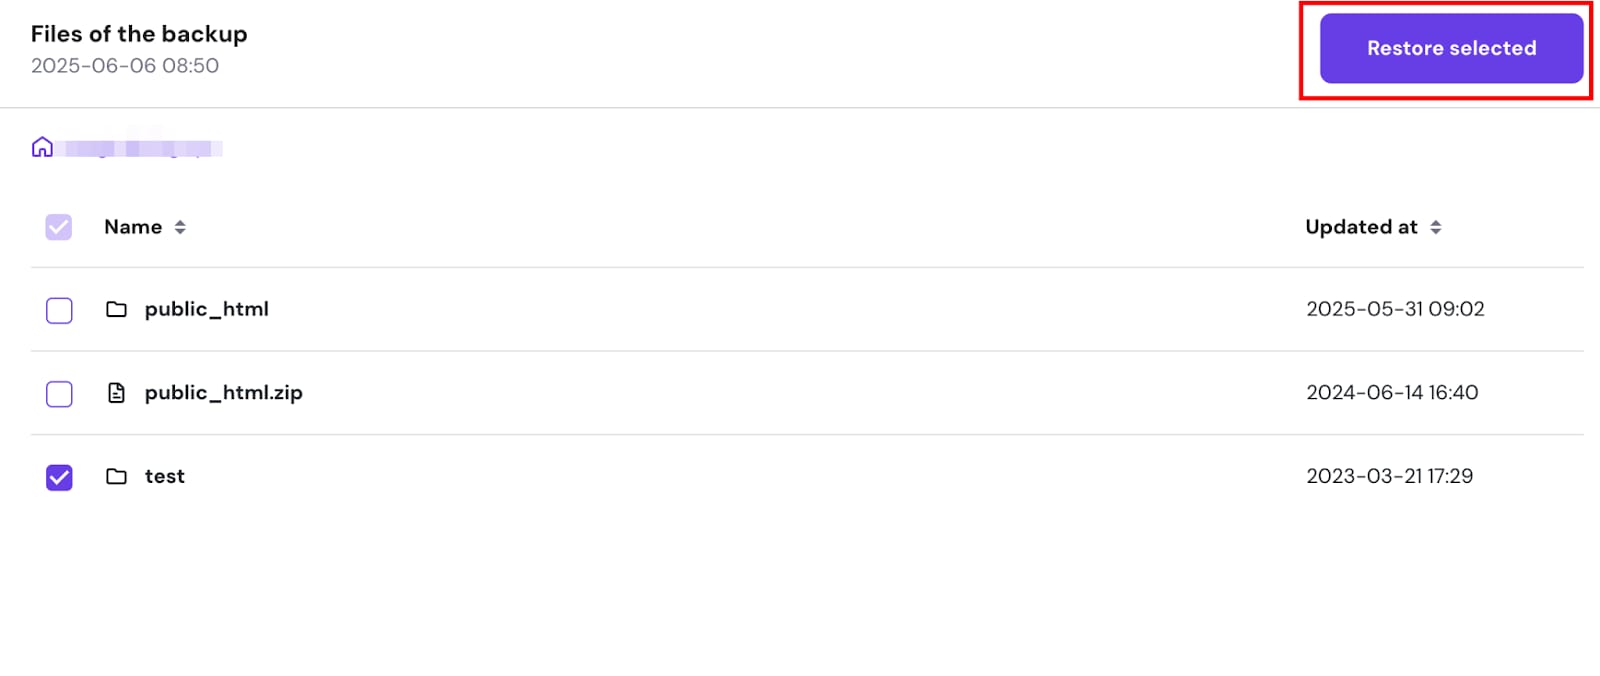
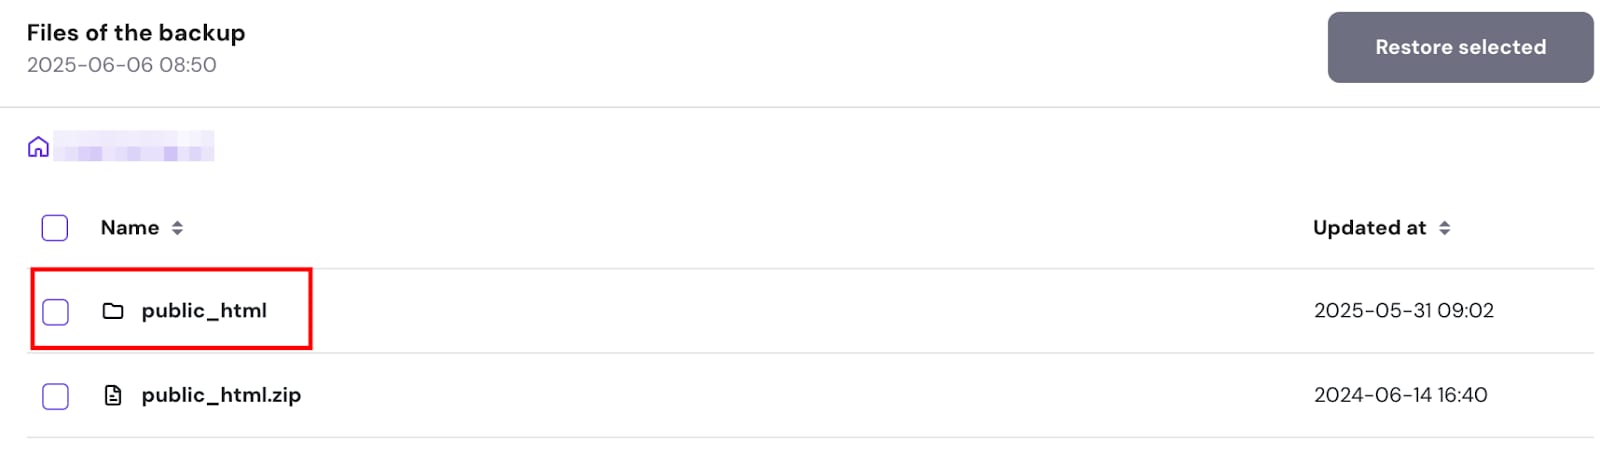
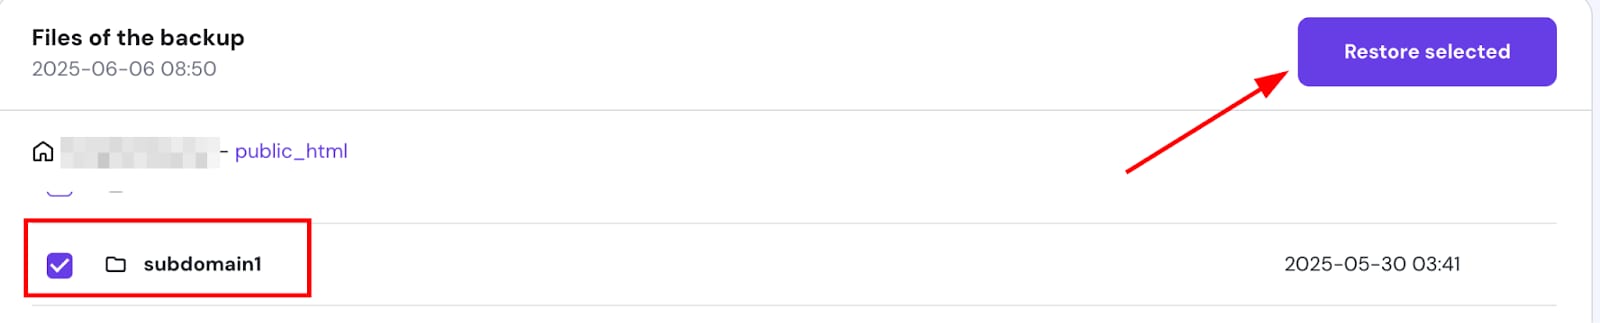
Haga clic en "Copias de seguridad de archivos (Files backups)", seleccione la fecha preferida y haga clic en "Mostrar archivos (Show files)". Para restaurar solo un dominio y sus subdominios, seleccione la carpeta del sitio web y haga clic en "Restaurar seleccionados (Restore selected)"; para restaurar un directorio o subdominio específico, vaya a su carpeta public_html, seleccione el directorio y haga clic en "Restaurar archivos (Restore files)". Si la restauración parcial incluye un sitio web completo, asegúrese de restaurar la base de datos a la misma fecha que la copia de seguridad de los archivos.

Restaurar archivos específicos
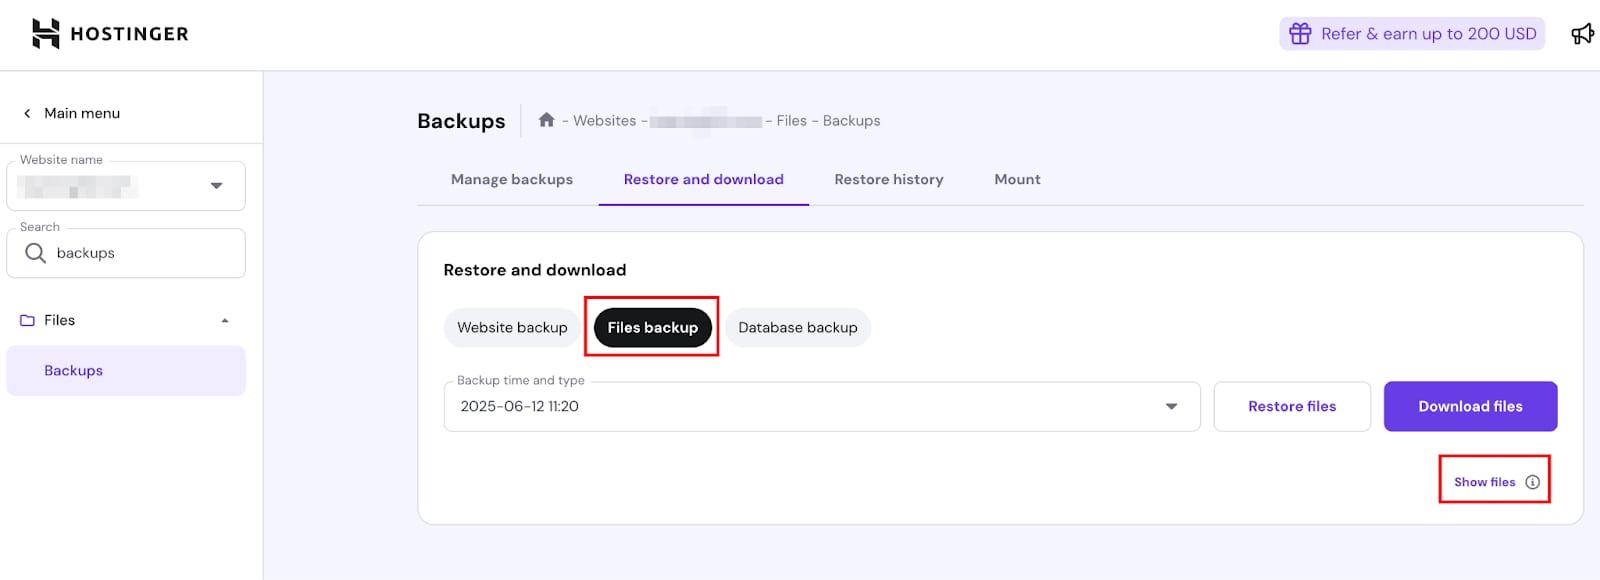
Hostinger backups page with Files backup selected and Show files link highlighted
Hostinger backup files list with the public_html folder highlighted for selection
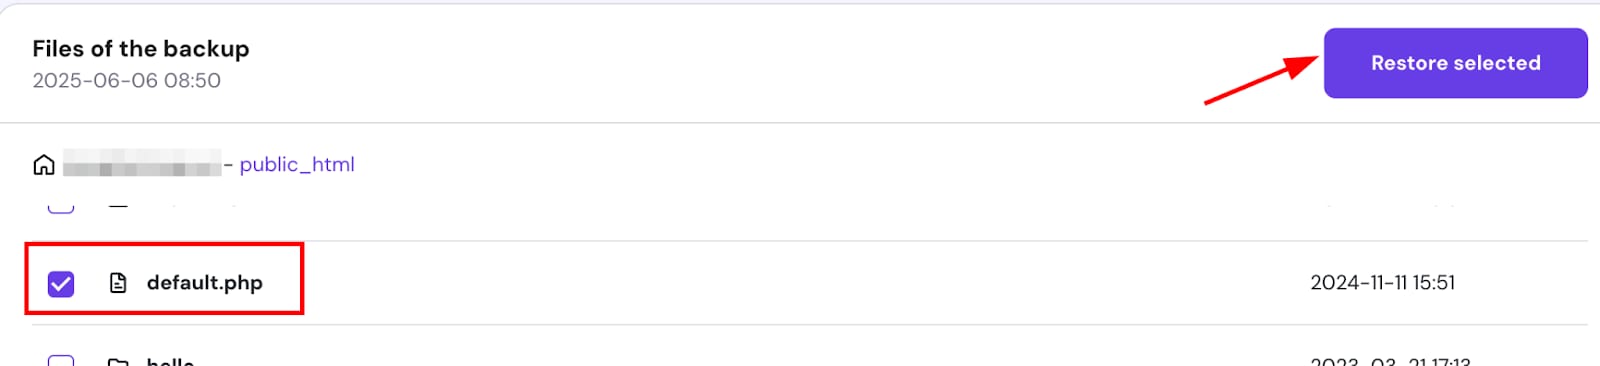
Backup file list with default.php selected and Restore selected button visible
Hostinger backups page showing website restore in progress at 1%
Hostinger backups page with the Restore history tab and Status column highlighted

Solo restaurar archivos específicos (como wp-config.php, .htaccess, etc.). Haga clic en "Copias de seguridad de archivos (Files backups)", seleccione la fecha, haga clic en "Mostrar archivos (Show files)", abra la carpeta domains, ingrese en el public_html del sitio correspondiente, seleccione los archivos necesarios y haga clic en "Restaurar archivos (Restore files)". Generalmente, solo toma unos minutos. Puede descargar la copia de seguridad mediante FTP y luego subir los archivos necesarios para restaurar archivos individuales dentro de subcarpetas de public_html.

Restaurar base de datos

Hostinger database backup tab with Restore database button highlighted
Hostinger backup restore error message with retry button and selected backup u123456789_base
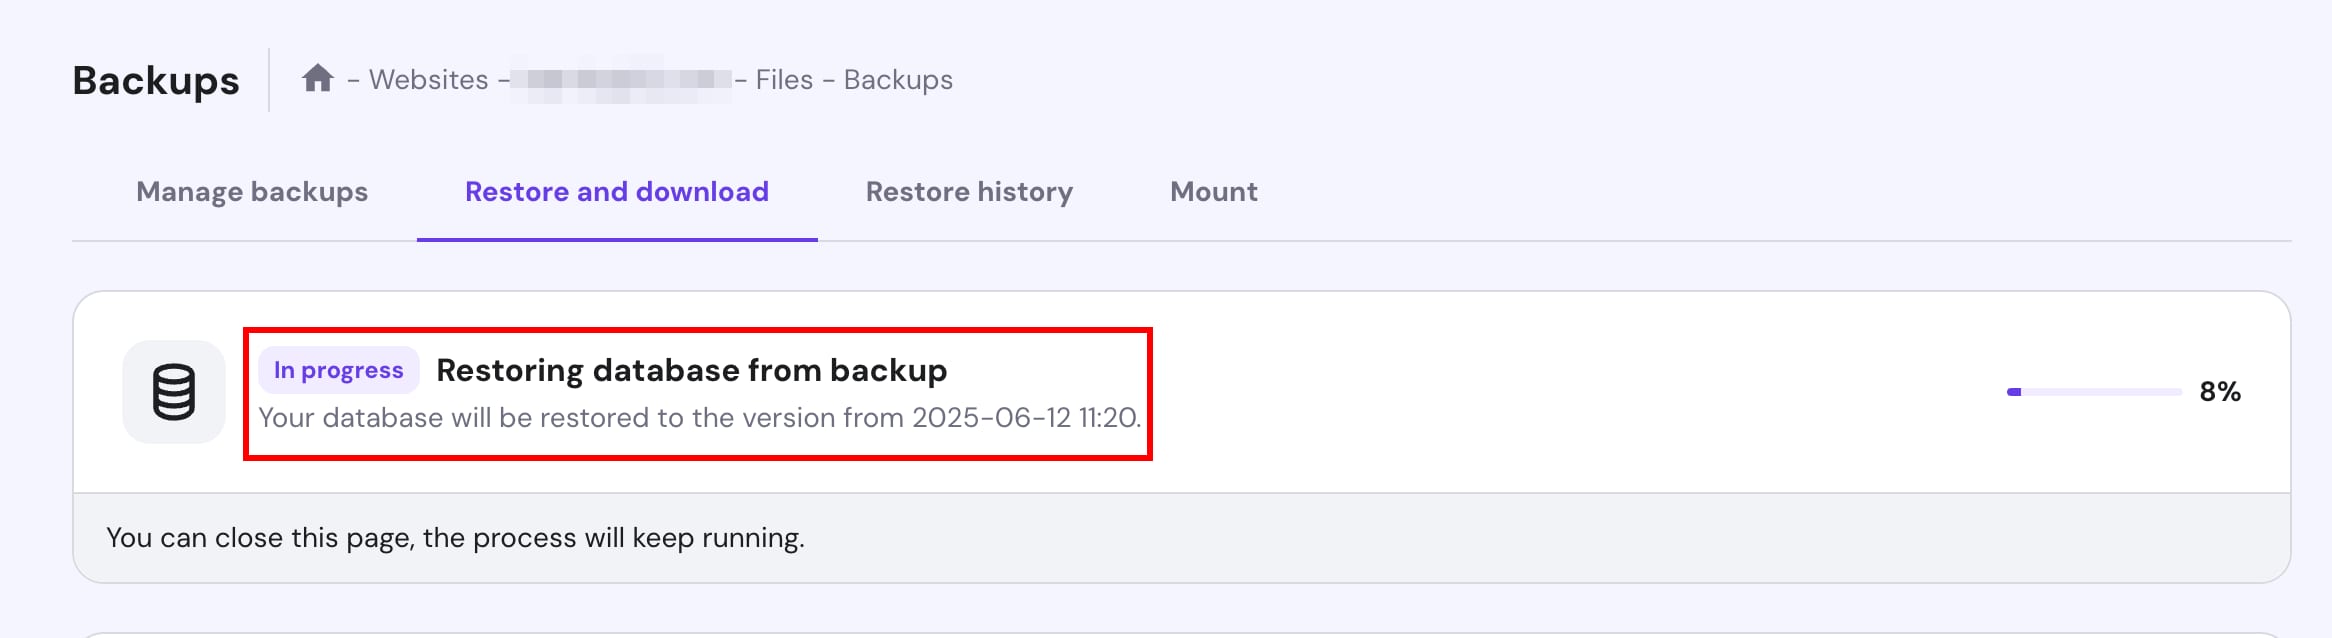
Hostinger backups page showing in-progress database restore from backup
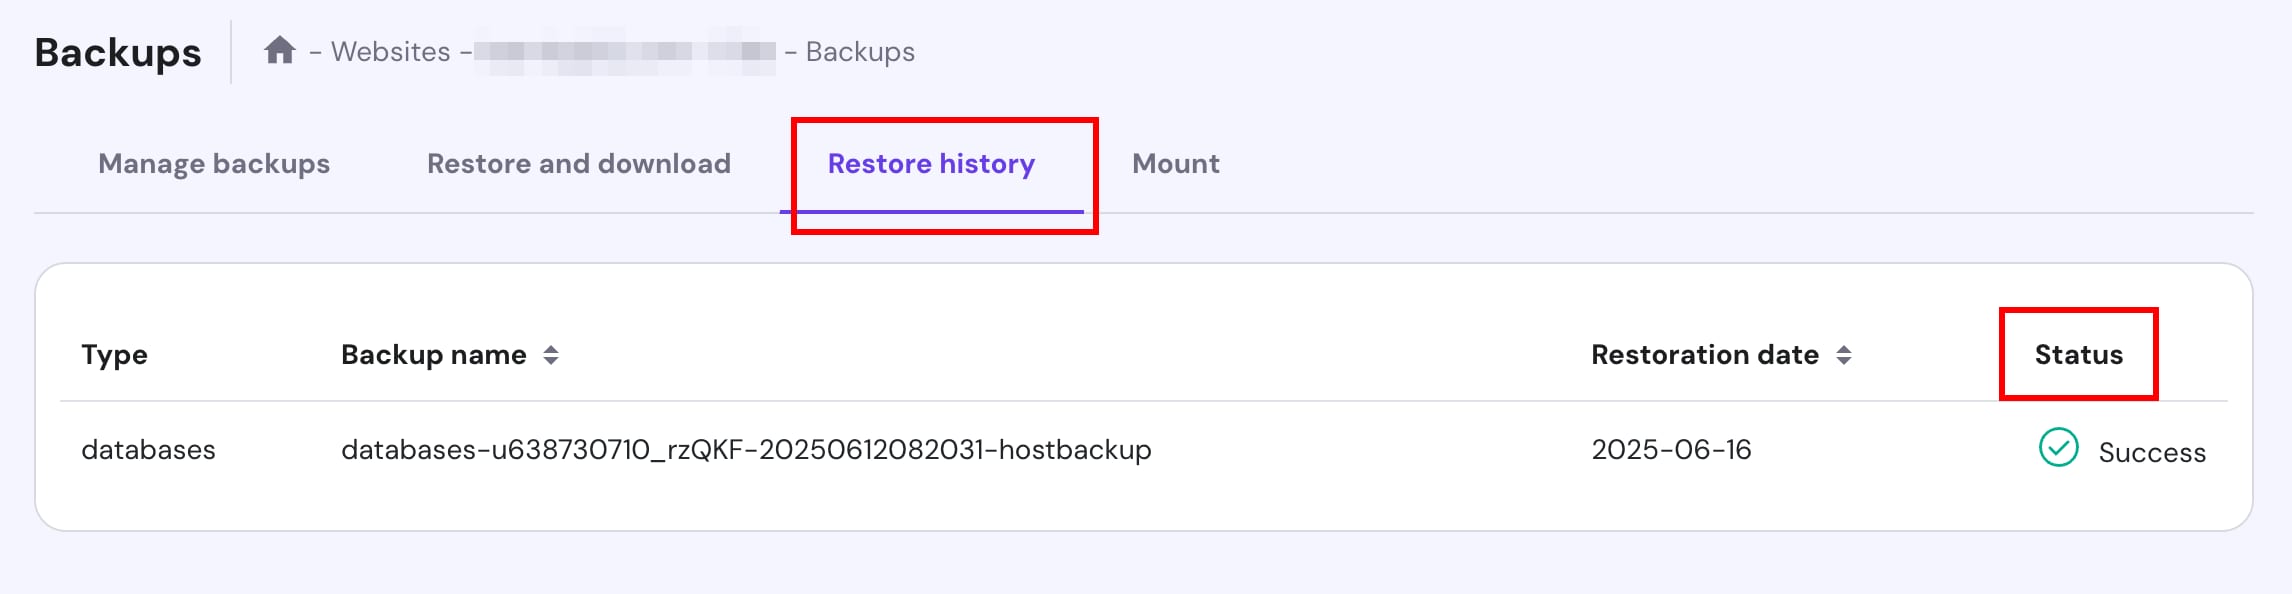
Hostinger backups restore history tab showing status success table

Haga clic en "Copias de seguridad de bases de datos (Database backups)", seleccione la fecha preferida y haga clic en "Restaurar base de datos (Restore Database)".Atención: La base de datos debe existir en la 'Lista de bases de datos actuales MySQL' antes de la restauración; de lo contrario, cree primero la base de datos con el mismo nombre y luego intente de nuevo.

Restaurar la copia de seguridad de subdominios
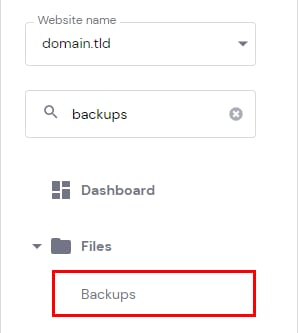
Hostinger hPanel sidebar with Backups menu item highlighted under Files
Hostinger backups page with Restore and download tab and Website backup selected
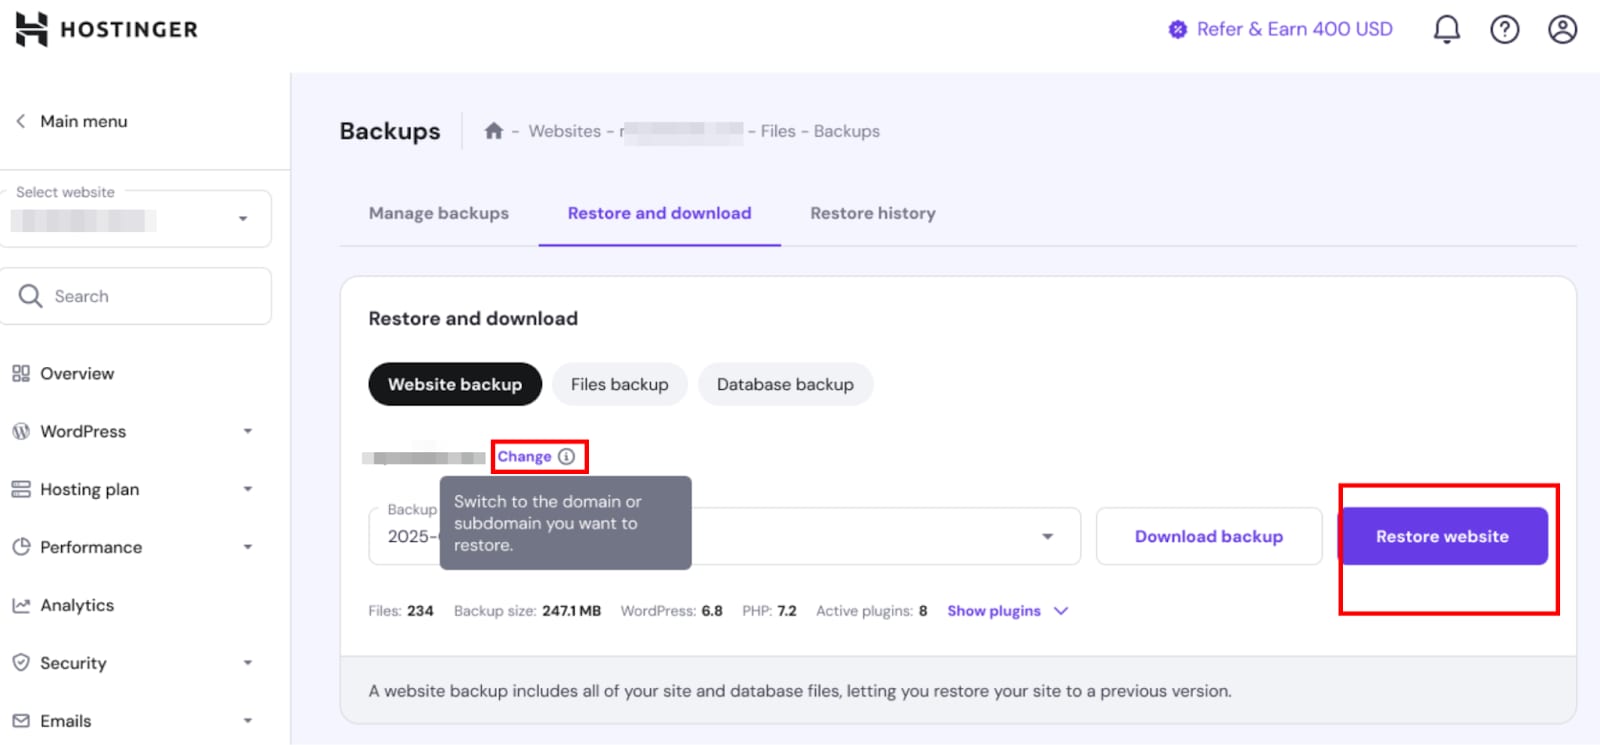
Hostinger website backup restore page with Restore website button and Change domain link highlighted
Hostinger backup restore in progress, showing website restoration at 1%
Hostinger backups page with the Restore history tab and Status column highlighted
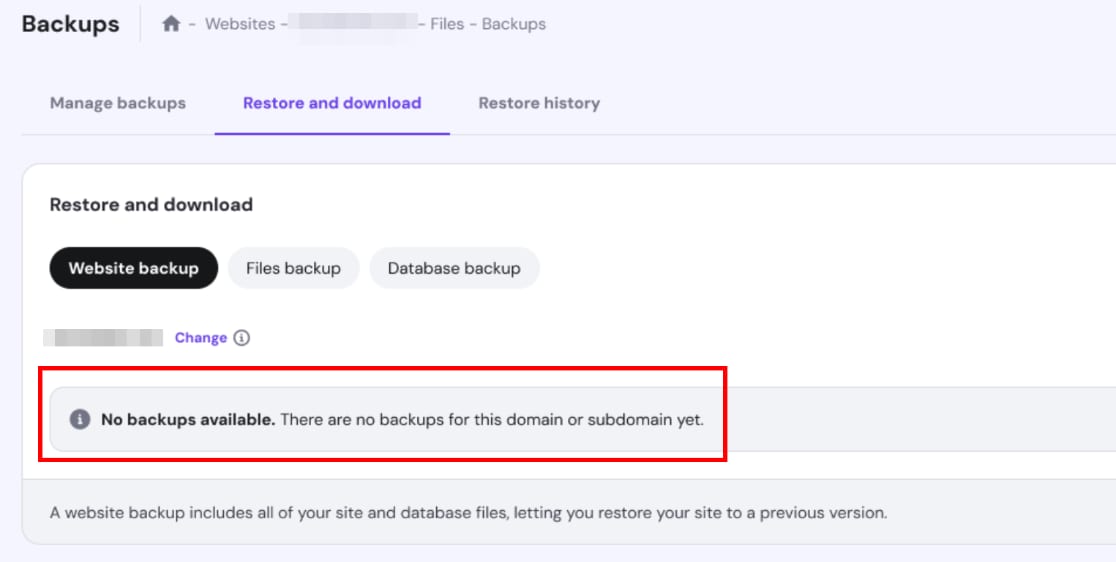
Hostinger backups page showing “No backups available” for Website backup

Atención: Esta función solo es aplicable a sitios web WordPress creados en subdominios. Vaya a Sitio web (Websites) → Panel (Dashboard), en la barra lateral busque Copia de seguridad (Backups), en 'Restaurar y descargar (Restore and download)' → 'Copia de seguridad del sitio web (Website backup)' haga clic en 'Cambiar (Change)' para seleccionar el dominio/subdominio correcto, luego haga clic en 'Restaurar sitio web (Restore Website)'.

Fuente: documentación oficial de Hostinger